Saturday, January 31, 2015

Two Toned Dining table

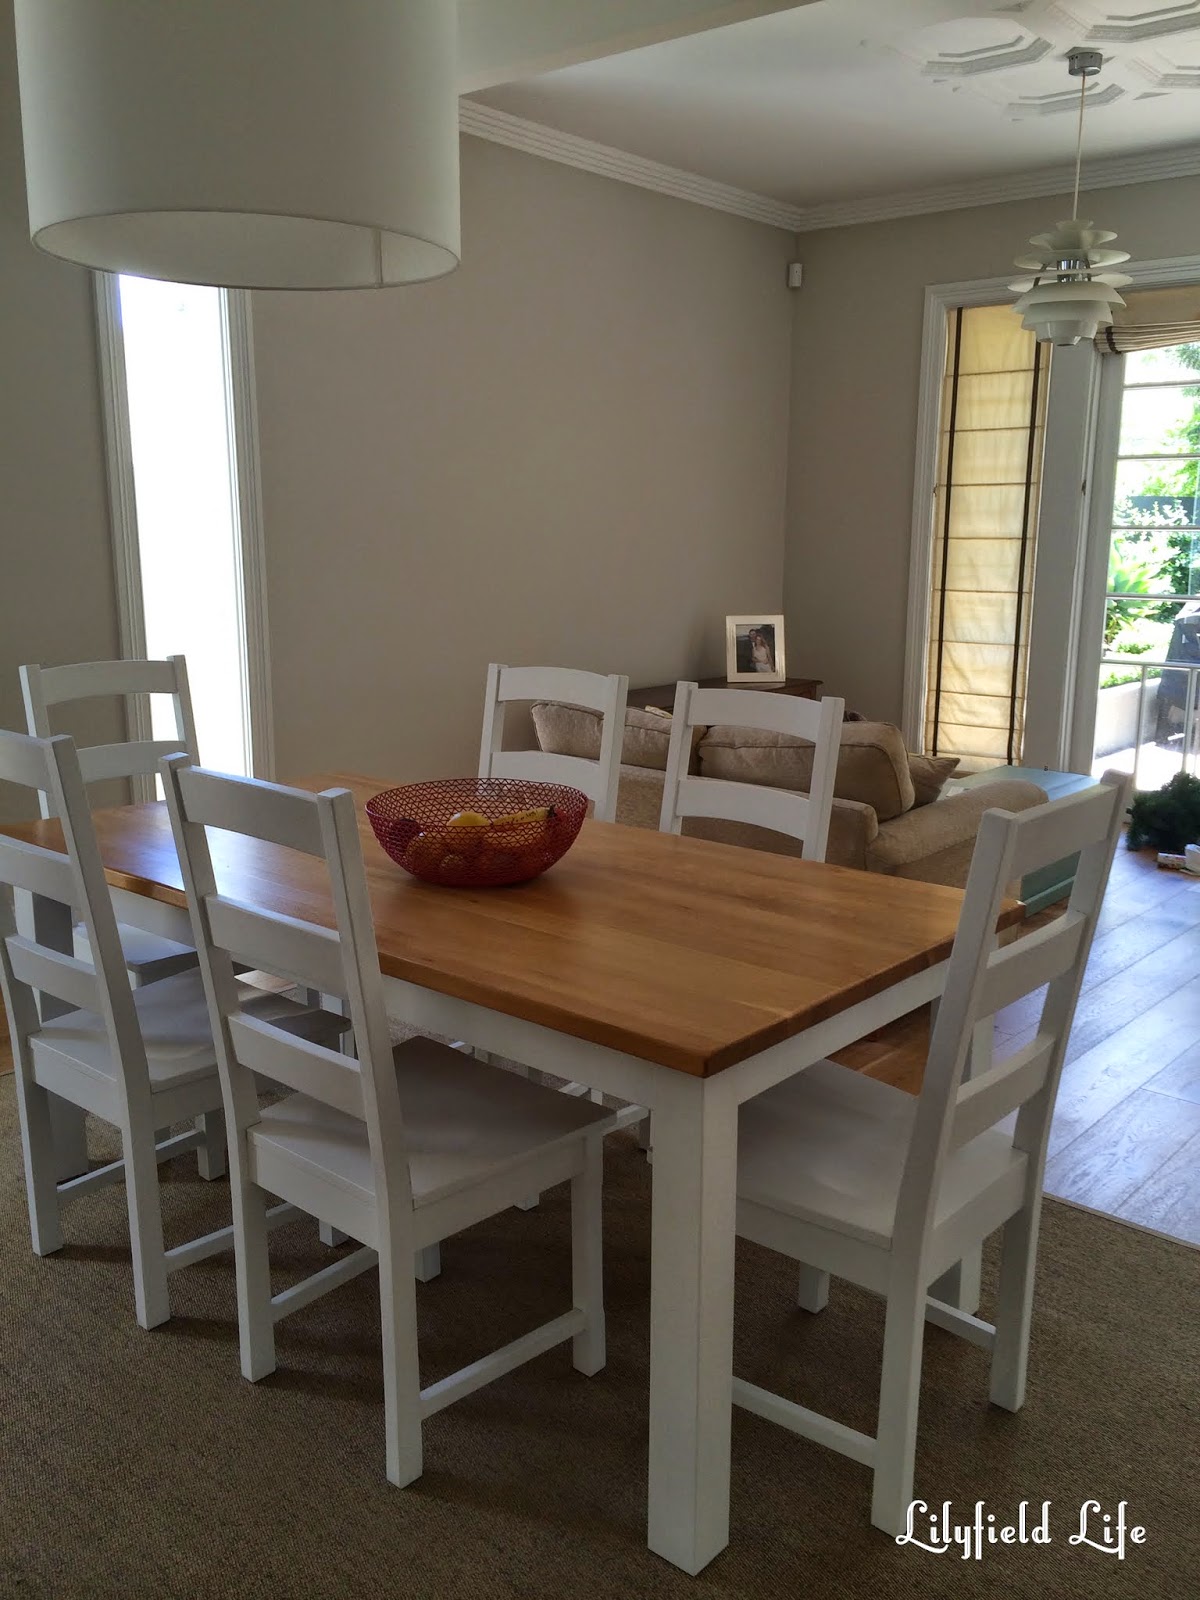
Yesterday afternoon I was covered in paint head to toe and exhausted but very happy as I finished painting Victoria's dining suite. As lovely as Victoria is, I really didn't want to have to go back a third day to complete it so I powered on, not stopping, and made sure I got it finished.


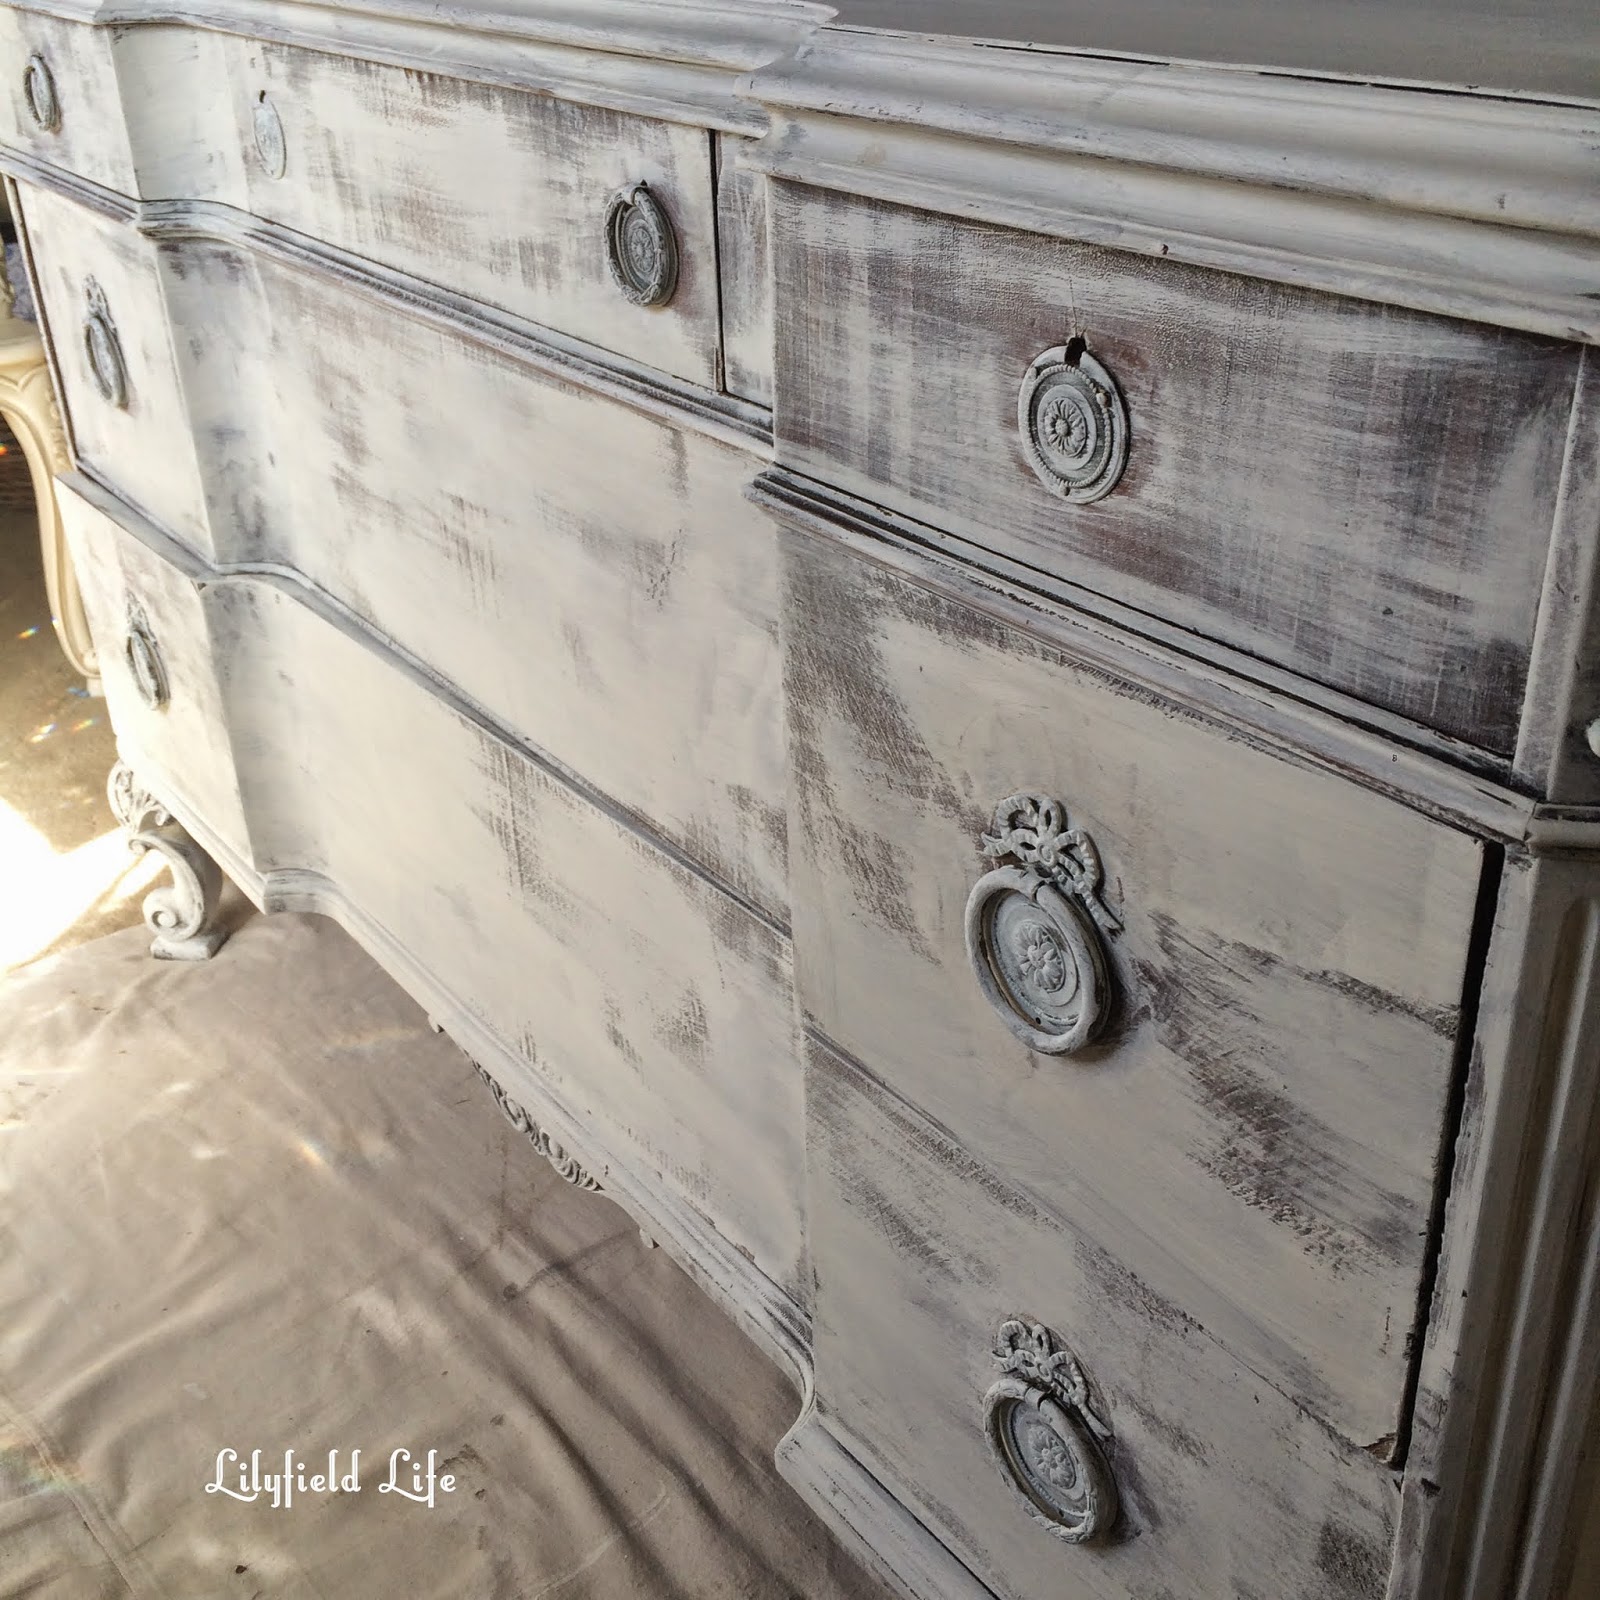
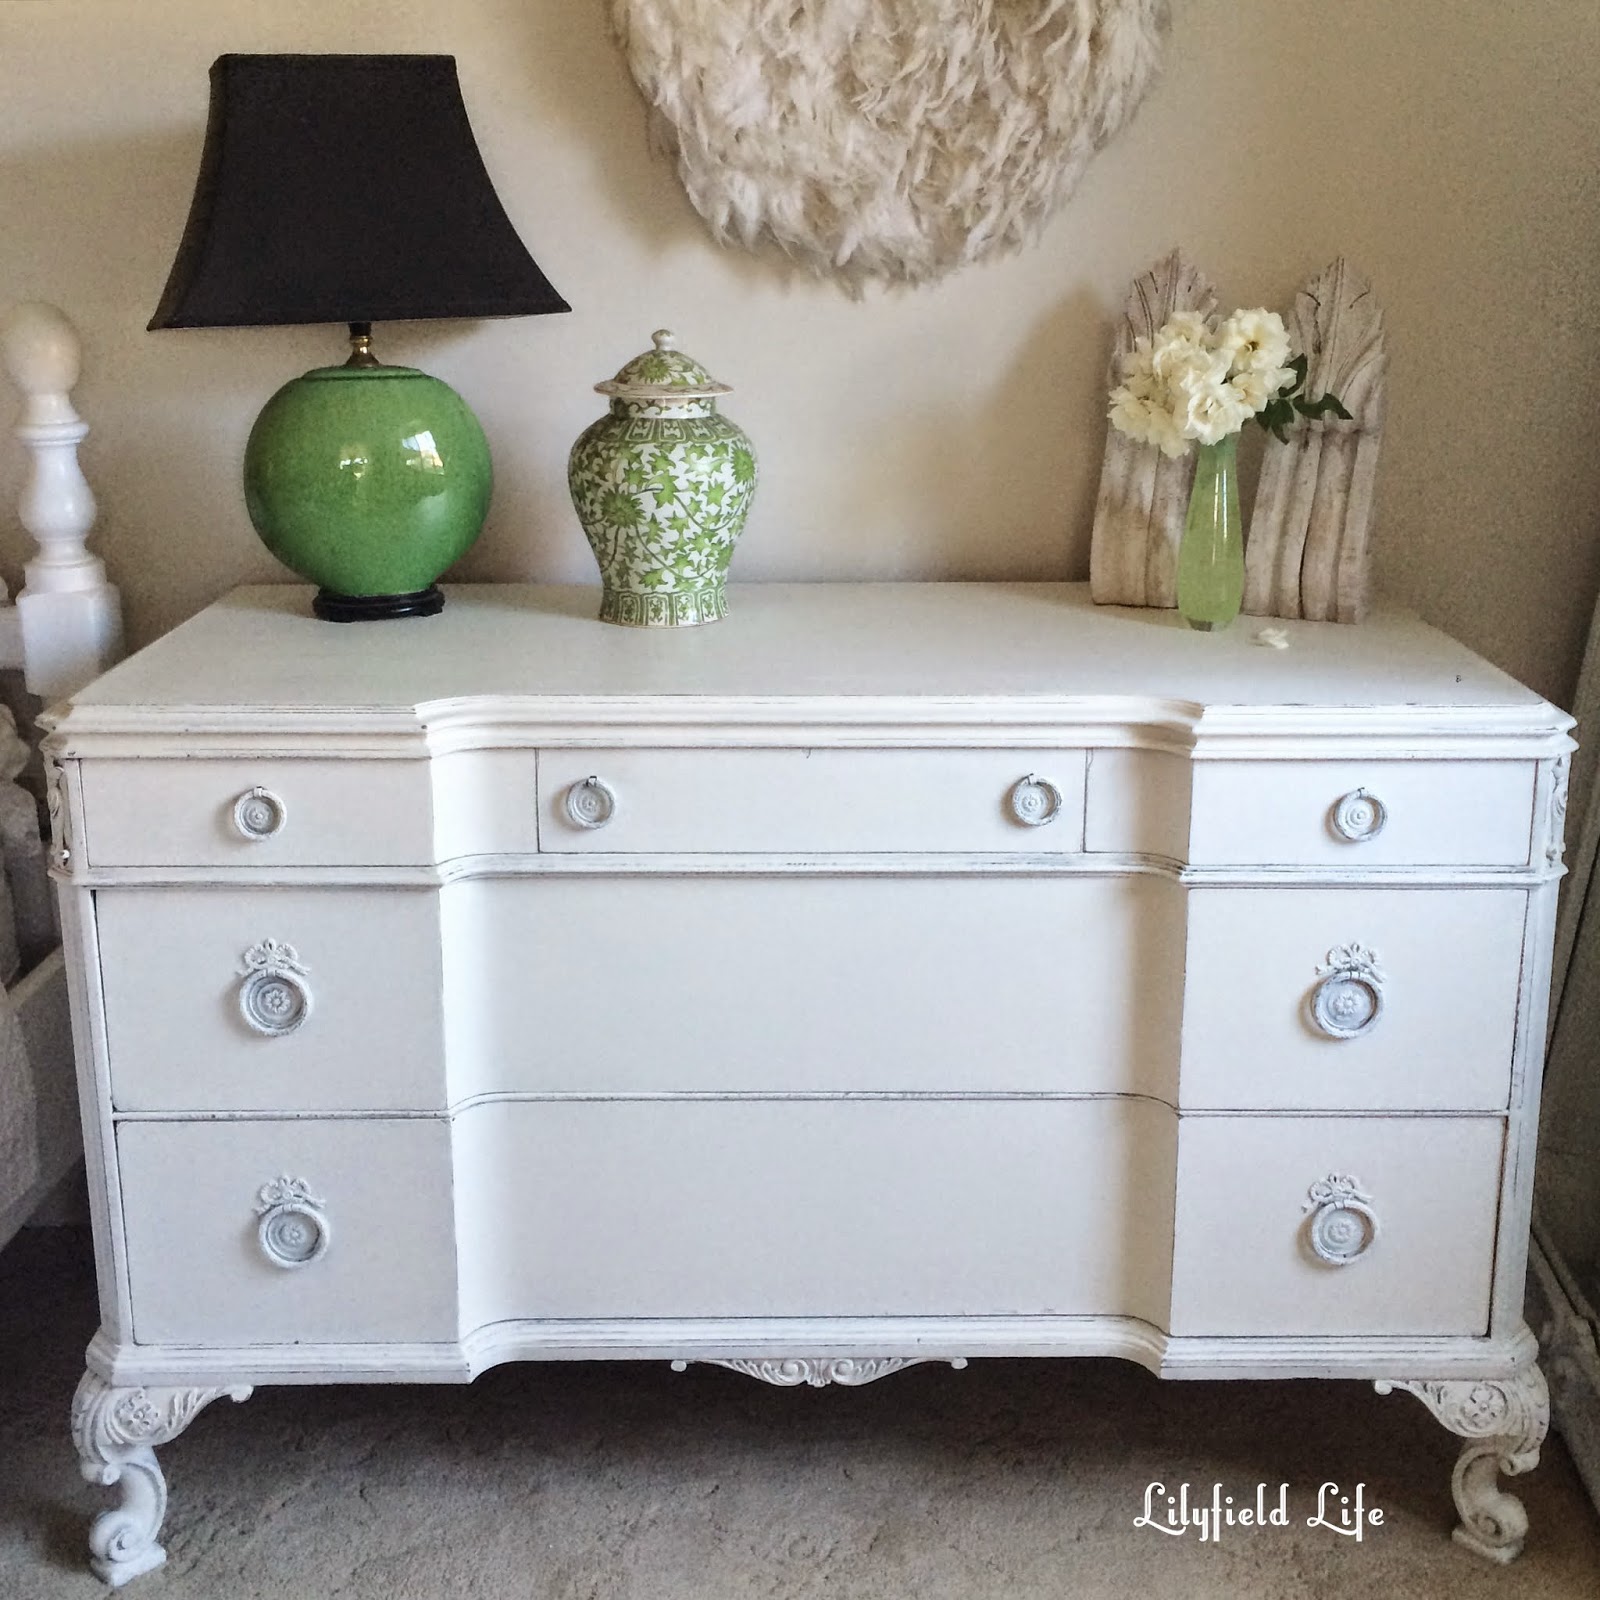
After giving the chairs a very good sanding, I spray primed the chairs for speed and good coverage and then hand (brush) painted a couple of coats of the white paint. I used a low sheen scrub-able paint in the colour Dulux Lexicon Half as Victoria wanted a nice bright white. Victoria and her husband bought the table and chairs 10 years ago in NZ. I think the timber is Rimu. The table top has worn extremely well and so we decided to leave it as is. I painted the apron and legs only to freshen it all up. 


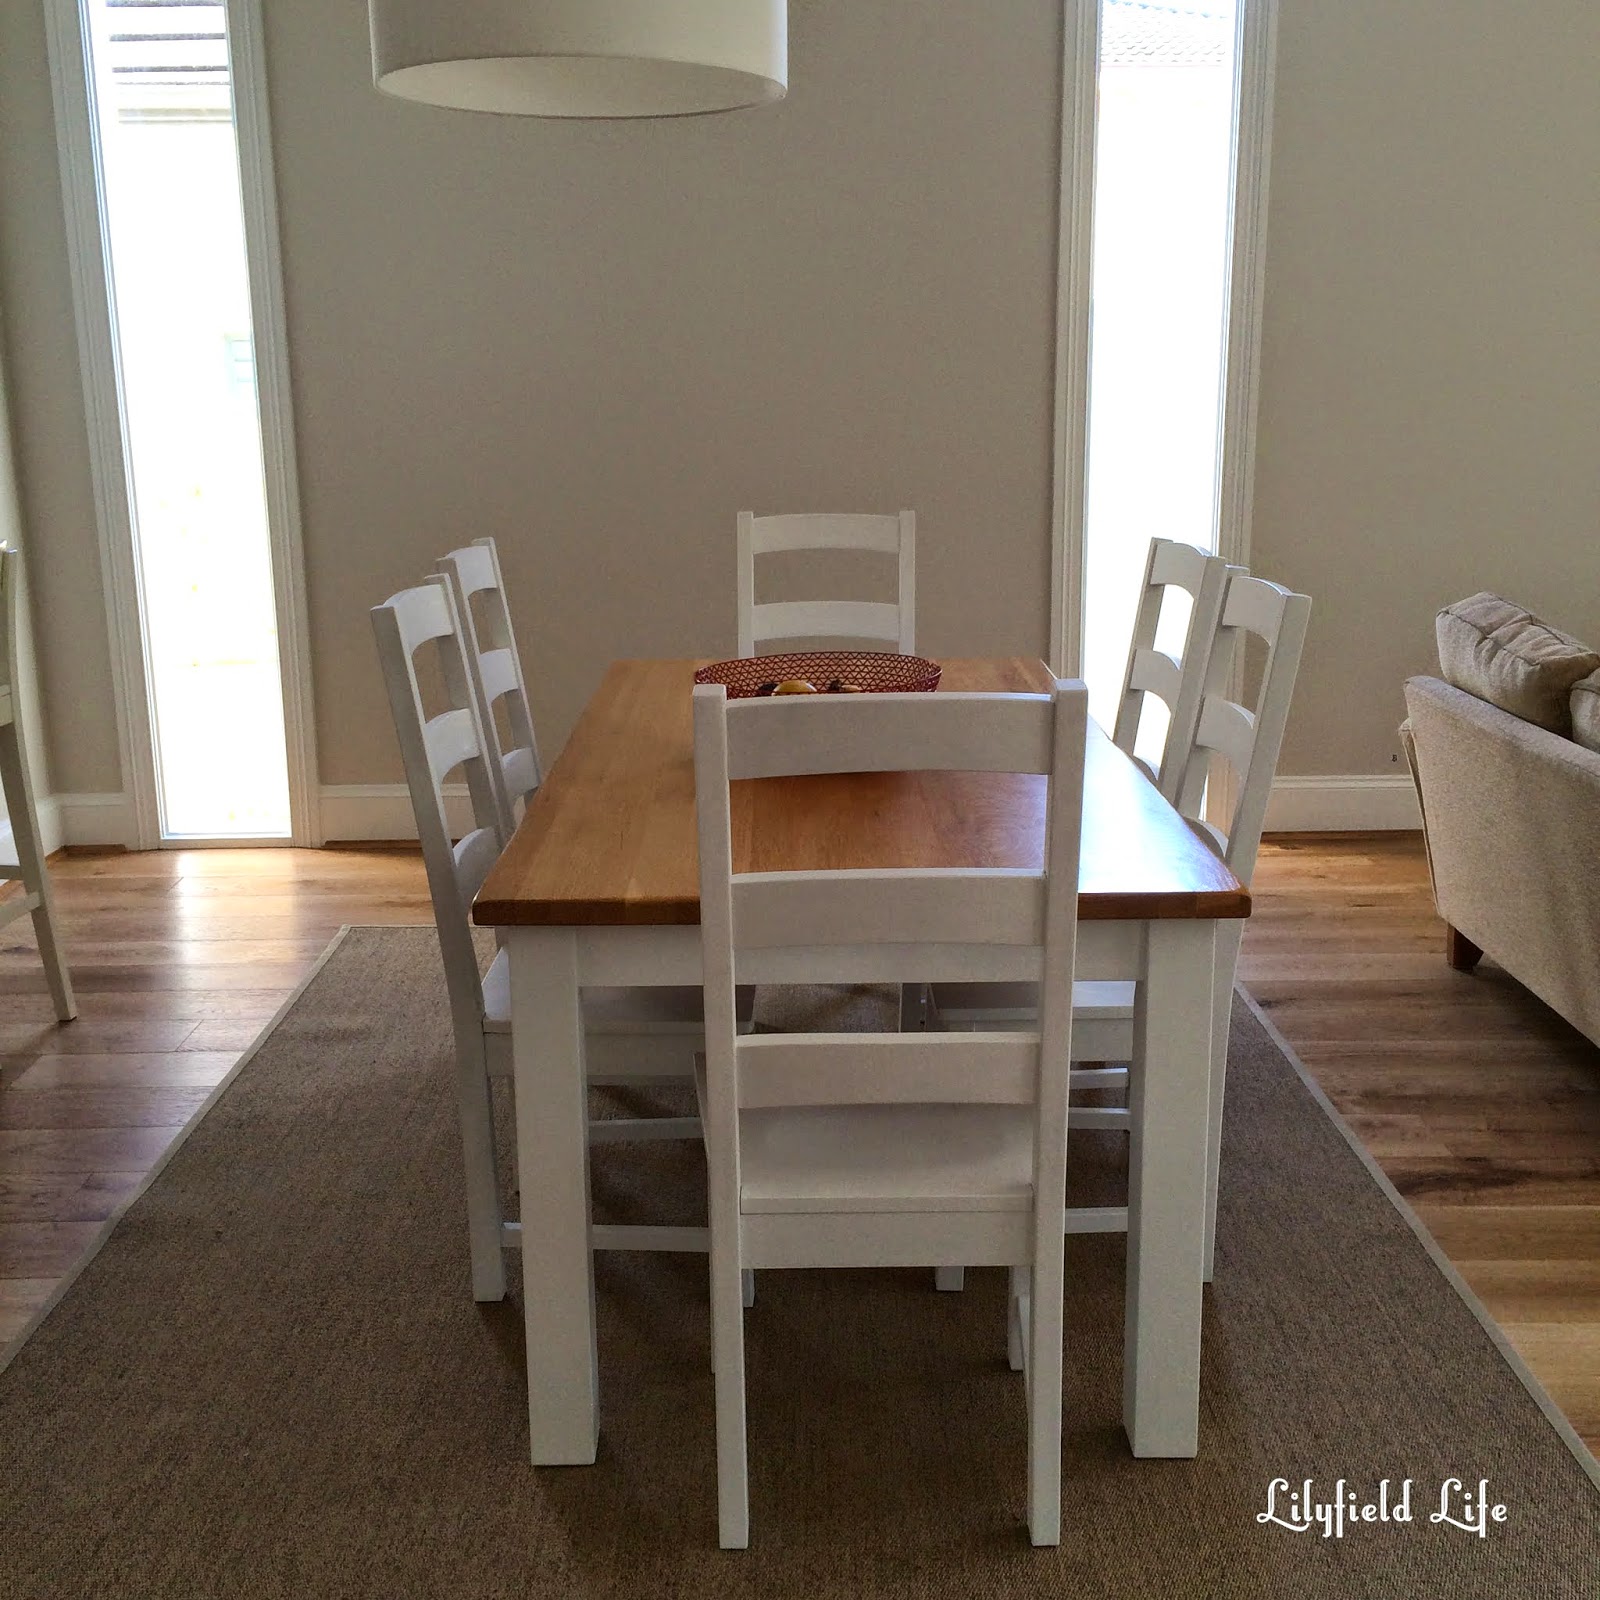
It looks great under a large pendant from Shady Designs. The rug was $200 from IKEA.


I have to say I absolutely hate painting chairs and these might be the last I accept for a while. I hate turning down work but would much prefer painting drawers and cupboards.

On the renovation front, I came home to a fully rendered house, the upstairs outside is painted, the bathrooms are finished, the gutters are all on and the floorboards are finished being laid. It seems like everyone was working like a demon today. I'll have photos next week.

Have a good weekend
Fiona xx

Sharing at Miss Mustard Seed

Friday, January 30, 2015

Vintage timber trunk and a gorgeous place to paint

Good morning! In about an hour I am heading to Drummoyne to finish painting a dining table and a set of  6 chairs. I don't mind painting onsite when it's such a gorgeous environment. I could look at these french doors and the ceiling for hours. My client is such a lovely woman and yesterday we chatted while I painted so it was very enjoyable. Hopefully I can finish the dining chairs today although I think I may have my work cut out for me. I'll share photos next week of it all finished.


While we were chatting Victoria asked me what I thought of the blanket box you can see in the above photo that she uses as a coffee table. She bought it with money from her Grandmother's inheritance so loves it and wants to keep it but she didn't like how the timber had turned orange over time. I suggested that I paint it Duck Egg as her cushions have hints of green and blue in them and it would act as a nice pop of colour in her otherwise neutral space.


So I bought it home with me to paint overnight. Still painting in my bedroom and yes I have half painted bedside tables - they have already been sold and my buyer wants them white. I'll be working on them over the weekend.


This is such a lovely old piece  - quite rough hewn with lots of character.  You can see the saw marks on the side. I lightly distressed the paint and then waxed it.


I'm off now to pack up my painting supplies for today. It will be quite nice to be out of my house today as the guys are laying the timber floor in the study and the lounge room and all I can hear is the nail gun firing every 20 seconds. I'll be spray painting the primer on the dining chairs to save some time then finishing them with a brush. Wish me luck.

Have a great day. 
Fiona

Thursday, January 29, 2015

Vintage Dresser as a TV cabinet


Good morning! I'm heading to Drummoyne today (once I've dropped the kids at school to paint a dining table set at a client's house- someone tell me why I agree to paint chairs again?? Oh well a job is a job and luckily I love painting.

Last night I delivered an ornate chest of drawers that I had painted white to Desley. She lives in a beautiful stately house and will be using these drawers as a TV cabinet. She showed me the room where it will be placed, nestled next to a marble fireplace.  I'm pleased that this dresser is being used as a TV cabinet/sideboard. I think the drawers once full are too big and heavy to be used as an "opened daily" chest of drawers in a bedroom.


The whole piece is solid walnut with walnut burr veneer. The veneer had a few warping issues on the sides but Desley didn't mind that especially as the sides won't be seen next to the fireplace. I sold the mirror separately and painted the drawers in Porters Paint Chalk Emulsion. I did prime it first as veneer can often bleed a little.


Once it was primed I painted the piece in the chalk emulsion with a few coats and then sanded and  waxed for a nice finish. 


I am still counting down the days for a workshop that isn't my bedroom! I'm sure Phil is also :)


 I'll be looking forward to coming home this afternoon. Our timber floors are being laid today in the downstairs section of the extension and the plumber is here finishing the bathrooms. I can't wait to show you the fixtures and fittings. I'm slightly in love with the basins and taps we have chosen.
Have a lovely day.
Fiona xx


Sharing at Miss Mustard Seed

Saturday, January 24, 2015

Apartment Therapy feature for Lilyfield Life

Thanks everyone for your lovely comments and emails on my last post. It seems that so many of you get why paint is so amazing and transformational.  I appreciate all your kind words and support.


This morning I nearly gave myself heat stroke painting the front of the house. We started early to do as much as we could before the sun hit the front of the house. I ended up using my Wagner spray gun to do all the enamel trim and then I hand painted the Dulux Limed White Wall. I'll share photos soon as I didn't end quite finishing it. I was so hot and even after a swim in the kids padding pool and a cold shower I was still overheated. I ended up going supermarket shopping. I came home with lots of dairy items as it was nice and cool near those fridges :) 


Beth who follows Lilyfield Life sent me a message to say that one of my all time favourite chairs has been featured on Apartment Therapy - go check out their list of 50 creative uses of dropcloths. There are some fabulous great ideas. 


If you want to read more about how I made this seat cover please see here


Have a great weekend and Happy Australia day to all the Aussies. We are still the Lucky Country.
Fiona xx


Friday, January 23, 2015

Painting Furniture vs OMG don't paint it, You are ruining it forever, timber lovers


I do like timber, honesty I do, but I also want my house to look light and bright and fresh. Dark heavy old pieces of dated furniture just don't work for me (and for my clients) so yes I paint over timber and it even may be walnut that I paint and I truly love walnut.

But ...here's the thing: I get a little upset when people comment on social media and write to me saying that I am ruining a beautiful old piece of furniture by painting it. If you have a painted furniture business you will definitely have heard this before also. It riles me at times and other times I think that people just don't understand.  So I thought I'd take the time to explain (and sorry if this comes out as a bit of a rant)

I buy old pieces of furniture relatively cheaply that other people pass over. The pieces almost always need repairs or have some other issue that means they need painting or a complete overhaul. I usually spend between $40-120 on my pieces but sometimes if I really love a piece I'll spend up to $400: by no means am I painting valuable antiques. 

So when people have a problem with how I'm treating furniture, I think "why don't you complain to the people who let their furniture get to the sorry state that I bought it in, in the first place." (or about some proper travesty - war, rape, famine, large scale pollution, murder etc that occurs in our world). At least my painted furniture is going to a new home and will be treasured. I am good at what I do and have so many happy clients who treat my painted furniture as something very special in their homes so I am making NO APOLOGIES about what I do. 

(And thanks to all of you who do love what I do xx)

whew...I'm off to do some deep breathing and meditation now. 

Much love and let's all just be kind to one another on social media.  Have a lovely weekend. 
Fiona xx

Sharing at Miss Mustard Seed

Subway tiles - Bathroom Renovation Progress

Hello lovelies, it's been a while and so thanks for hanging in here with me. The house progress is hurtling towards completion. I think the builders are actually having some fun as we didn't use an architect and so we are making a lot of design decisions as we go along and it's a very successful union of design and practicality. Phil and I are absolutely thrilled with the house and there are some really neat features. 

I thought I'd share the bathroom progress today. We have modestly sized bathrooms but the house has three bathrooms now (the downstairs original bathroom, an ensuite for me and Phil and then a bathroom for the kids) so they don't need to be big. Saying that the new bathrooms are both 1.8m by 2.4m so it's spacious enough.

Subway tiles still to be grouted

I chose a grey floor tile (ceramic, with a marble like vein in it) and white subway tiles for the walls. I actually ordered matte tiles but the company delivered the wrong ones and I didn't realise till all 39 boxes of tiles were upstairs, up a ladder. The company, Archstone in Rozelle, was very gracious (as it wasn't their mistake as they were out of stock and had bought the tiles from a third party who had made the mistake) and they offered to climb up the ladder and get all the tiles and replace them with the matte tiles but seriously what a waste of resources and time so I decided to stay with the gloss tiles. Now I am very happy I did as the gloss looks fantastic and the tiles are brighter white than the ones I'd originally chose and as a consequence the rooms are brighter. Some mistakes work out for the best.


This bathroom still needs to be grouted. The floor will have sand and cement as grout so it's a dark grey and the walls I've chosen Misty Grey which is quite light. The bath is a 1700mm Kaldewei Dynaset bath. We have the 1500mm version downstairs and absolutely love it. It's a full steel bath. For the upstairs bath we opted for a multifiller so there is no bath spout and water comes out the round thing on the end of the bath which is also how you lift the plug.


This morning the tilers, Felice and Sonny, are grouting the master ensuite. I love it so far! We have a big walk in shower at the end of the bathroom and then a wall hung basin and toilet. Storage is overhead medicine cabinets. Very simple and streamlined.


The guys are wonderful tilers and have done a beautiful job. If you are looking for a tiler I can definitely recommend them. Email me if you want their contact details.

The plumber is coming next week to finish the fit out of the bathrooms. The end is in sight!

Fiona xx


Monday, January 12, 2015

Smooth Finish for Painted Furniture: My Hints


I just had a beautiful complimentary email from a lady who saw (and felt) some of my furniture in real life and was amazed at how very smooth it is. (I think it is hard to tell from photographs sometimes) She asked me how I manage to achieve such a fine finish. A lot of it comes down to years of practice but here are some other tips I've pulled together to get a lovely smooth finish with minimal to no brush marks (if that's the look you are wanting)

My tips for getting a very smooth painted finish on your furniture. Lilyfield Life Furniture painting workshops.

My hints for a very smooth painted finish on your furniture:

1. Sand your piece before you start painting. You will never obtain a smooth finish if your piece is all bumped and rough before you even start painting. You do not need to sand it back to raw wood. Just a light sanding to create a key for the paint and to remove any bumps and other issues. This is also the time you might want to fill any holes or make other repairs.

2. Wipe down and clean your piece.

3. Use a synthetic tapered edge flat or sash brush. A bristle brush such as Annie Sloan's is designed for laying down a lot of paint and creating texture so it's not the brush you should be using if you want a very smooth finish with minimal brush marks.

4. To obtain a very smooth surface, paint in the direction of the wood grain.

5. Sand lightly between coats. This does not need to be laborious -just a soft sand with a fine grit sand paper or sanding sponge. It will take only about a minute extra.

6. For the final coat of paint, either water down your paint a little, or before dipping you brush into paint, dip your paint brush into some water, just touching the end of the paint brush into the water's meniscus. Practice this first as you do not want to wet your paint brush so much that you create drips and streaks. You just want the paint watery enough so it will smooth out as it is drying. (rather than having brush ridge marks)

7. Wax your piece then sand with a super fine sand paper (such as 600 grit) and then wax lightly again. 

Yes it's a lot of work but it will be so worth it.

My tips for getting a very smooth painted finish on your furniture. Lilyfield Life Furniture painting workshops.

I'll be running furniture painting workshops again in a few months so message me if you are interested and I'll add you to my notification list.

Fiona xx

Sharing at Miss Mustard Seed


Friday, January 9, 2015

A barn door for our bedroom

Hi everyone, on this sultry Friday evening. I've had a spinning head and cold all day so am taking it easy this evening and the kids are practicing snorkeling in the knee deep blow up pool that we have while the builders are on holidays so I thought I'd share a little project that we will be doing soon for our renovation. Our bedroom is at the top of the staircase and the doorway to the bedroom is in the centre of the bedroom wall. It's not ideal but it was unavoidable with our house parameters. Anyway when Sam asked me which way I wanted the bedroom door to swing - left or right, I realised that I didn't want either. 


If the door hinges on the left, the open door will block the view of the harbour bridge out the windows (and you can't do that can you!) and also I want a little console on the wall behind where to door would open. If it hinged on the right then it would open over the ensuite door and it all was a bit busy, I suggested to Sam that the door opened outwards onto the hallway wall and Sam looked at me as though I were mental and said we'd never be able to sell the house :)

Sam suggested he could a cavity slider door and I threw up in my mouth a little ;) as I really, really hate them. But then I remembered barn doors and that you can buy the tracks quite affordably. The door will slide open across the stairwell wall which will add some interest to that huge wall. It worked beautifully actually as the bottom floor wall is double brick an the top floor wall is timber frame so we were able to make the wall step in so the door actually is sliding along something rather than just handing midair.


Then came the decision on what to use as the actual door. We wanted sometime much bigger than the actual door opening. We have a lot of beautiful old cedar that we have salvaged out of the old roof but then I suggested the antique walnut french doors I bought at auction last year.


I bought them fairly cheaply and thought that they would make amazing bedheads but no one was interested so I popped them aside knowing that I'd find a use for them eventually. 


This is the stairwell void and the bedroom doorway in the photo below. Hard angle to see but I just popped up the ladder with my spinning head and this is the best I can do. The cornice upstairs is Sydney from the Boral Collection. Very affordable and paper backed so easy to hang and paint. The windows are Trend Aluminium with thicker than standard glass. (and that's scaffolding in the bottom left hand corner of the photo)


The huge chandelier I bought from the guy who imports them from Egypt hangs from that rose above.


So we will be finding a way to stitch them together or frame them and turn them into a barn door.  It's probably quite involved to turn these into a usable door as they are short and require framing to make them the proper height but because I bought them cheaply I think it will all balance out but, hey, I'll have a salvaged antique French door in my house so that's cool.

have a lovely weekend
Fiona xx

Wednesday, January 7, 2015

First piece for 2015: Coastal Coffee Table


Hello my paint friends, I picked up my paint brush for the first time in a while again the other day and painted my first piece of furniture for 2015. Actually that's not entirely true as I've been painting the side of the house in a multitude of greys, whites and beige trying to decide on a house colour. After about 8 sample pots we've settled on the first colour I chose. I was dead set of Dulux Limed White for the house but Phil wasn't sure so we looked at heaps of other colours when finally he decided he did like Limed White after all...


Anyway I painted a pine coffee table that I've had in my stash since before Christmas. It's a lovely shape with some nice detail.  It was quite dirty when I got it so I have it a good clean, sanded it down and painted it in layers of ASCP French Linen, Paris Grey and Old White. As I don't like using a wax finish on coffee tables as I don't think it's durable enough I used a polyacrylic sealer for protection. Before top coating, I lightly sanded it to make the paint smooth and lightly distress the edges and details. I changed over the pine handles to little crystal knobs. 


The coffee table has gorgeous variations in colour and lots of rustic detail. I didn't sand out all the age and variations as I really like the rustic detail. Perfection is not what this coffee table is about. It's for sale for $325 but I'm hoping for a quick sale so I'll be willing to negotiate.  Two drawers. 90cm square and 43cm tall. Pickup Lilyfield.


I have a lot of furniture projects lined up (like these gorgeous mirrors) and lots of renovation stuff also. These next few months will involve a lot of painting I think. The house is getting rendered today and it looks great already (although the renderer keeps telling me that it doesn't look good at all yet and it's going to be so much better!)


Hope you have a great day - we are off to look at ceiling fans and chandeliers and then the beach for a swim. I love having Phil home on holidays.

Fiona xx

Friday, January 2, 2015

Lilyfield Life 2014


2014 Lilyfield Life painted furniture. 


I am looking forward to painting lots more beautiful pieces in 2015. I will have lots of lovely pieces for sale soon as well as I am available to custom paint your furniture.  If you are looking for anything specific please contact me as I would love to help you out. Once my studio is ready (around Easter) I will be re-commencing furniture painting workshops.

Thanks for all your support and messages. I so appreciate them.

Happy New Year. 

Fiona xx