Wednesday, May 27, 2015

Something very pretty for a change

After all that black furniture I felt like painting a pretty French piece. Last week I bought this old imported bedside table - from a distance it looked nice but it was cream with a weird green glaze and up close it was looking a bit rough. There were some deep scratches in the paint work on the side that you couldn't pass off as gentle wear and tear.

French Bedside painted in ASCP Duck Egg by Lilyfield Life

I decided to paint in ASCP Duck Egg Blue with Old white on the trim. I then antiqued with dark wax to add some authenticity to the paint work. 

I am pretty happy with how it turned out. I know these colours aren't for everyone but I just thought it was sweet and could be a pop of colour in a room without dominating the space like a bigger piece would.  It was snapped up for sale so I suppose it struck a chord with others as well.


I need to organise some art work for the lounge room walls. Slowly getting there with the house...the list of things to do is still endless. I suppose it's like that for everyone and their houses though.

Fiona xx

Tuesday, May 26, 2015

Black Painted Furniture

It seems that there are lots of people are crushing on black painted furniture. I thought I'd share some more tips on painting with black and also some examples.  I have painted several pieces black or Graphite lately and everyone who comes to the house has commented how much they love them. Painted black furniture is pretty much the opposite to why I started painting furniture. Our house was quite dark before we renovated and I wanted white bright furniture to lighten up our space. Almost every piece of furniture at home was white (and still is). I do think though that a piece of black furniture can anchor a room and add sophistication.  I do have a couple of pieces that are black in our lounge room now and I like the elegance they bring.

My Paris Map Cupboard
This was made using an image transfer technique  - I will be putting together a class soon on how to do this. It's such a great technique to learn. Let me know if you are interested.


My marble top Pot Cupboard
This piece never sold which surprised me as the marble on the top is so old and absolutely beautiful. We love this piece so I am more than happy for it to sit in this spot next to the fire.


Here are some other black and ASCP graphite pieces I have painted.


As well as my tips found in this blog post I wrote a while ago on Painting Black Like a Pro, I also think a good tip is to never use a white primer. If I am not using self priming paint as my top coat, I will do a coat of ASCP Graphite first and then use my acrylic black paint. This saves many coats of black paint which equates to time and money and results in a way better finish.

Also remember that the way light shines on black will mean that the higher gloss paint you use, the more the imperfections will show. Black is a difficult colour to paint with so one of the best things you can do is to sand your piece smooth before you start painting. Your finish will only be as good as what you start with.


If you are waxing ASCP Graphite so not use white fabric to apply or buff your wax. You do not want white fluff in your wax over the black surface. Either use steel wool or a black sanding pad or even black fabric. The 3M Sanding Sponges are fantastic to use. You can order them online or buy at a hardware shop. You may also find that the ASCP wax is a little draggy on graphite - I will often use a wax that is mixed with orange oil such as Howard Feed n Wax Carnauba Beeswax and Orange Oil


ASCP Graphite Javi Chair


Distressed timber and Black looks fabulous like the chair above. The warmth of the timber is beautiful against the black. When distressing use a fine sandpaper or sanding pad as you don't want scratches on your paint - you want it to seem as though the paint has worn off naturally over time from every day use.


ASCP Graphite Serpentine Drawers


Do you have black furniture in your house? What are your best tips for painting with black? Anything I've missed?

Fiona xx

Monday, May 25, 2015

Timber and Black is the New Black

In painting circles, ASCP Graphite is the new black: well then I'm going to take it one step further and say ASCP Graphite paired with natural timber is the new black.


I am embracing old oak dressing tables at the moment. I bought this dresser/chest of drawers from a guy who when I asked the history of the drawers proudly said he'd bought them in Newtown years ago and had spent a weekend stripping of the paint and restoring them. So I bit my tongue, paid my money, put the drawers in my car and didn't mention that I was a furniture painter...and I quickly drove off already planning in my head how I would paint these (and feeling the teeniest little bit guilty.)


But you know what I figure that my buyer will love them painted, then one day she will eventually sell them and then one day in years to come, someone will decide they hate the painted finish and will spend a happy weekend sanding off my paint and they will proudly say "I restored these drawers" and they'll love them and feel very happy with their efforts and that's what makes the world go round.

The drawers were stained but with a reddish brown paint and not properly sealed or the sealant had worn off - they were quite rough to touch so I immediately started sanding...and sanding...and sanding. But you already know how much I love sanding


Sometimes little details all work out. In the seller's photo below you can see the iron ring handles that were on the little drawers - obviously not original but neither were the brass cup handles. I love the brass cup handles with the black paint but the iron rings had to go. I never keep them on furniture because I just think they are ugly.


Luckily I had some small brass knobs off another piece of furniture I'm painting at the moment. The other piece is going grey and my client wanted pewter knobs instead of the original brass so I was able to swap out these knobs. Perfect..and it saved me a trip to the hardware shop.

I also removed the upright mirror holders as the mirror wasn't sold with the dresser. I'm sure I'll find a project down the track I can use the timber for.

Do you love the ASCP Graphite and timber together?

Fiona xx

PS in case you are wondering, this piece has already sold

Saturday, May 23, 2015

How to Paint Old Oak Drawers

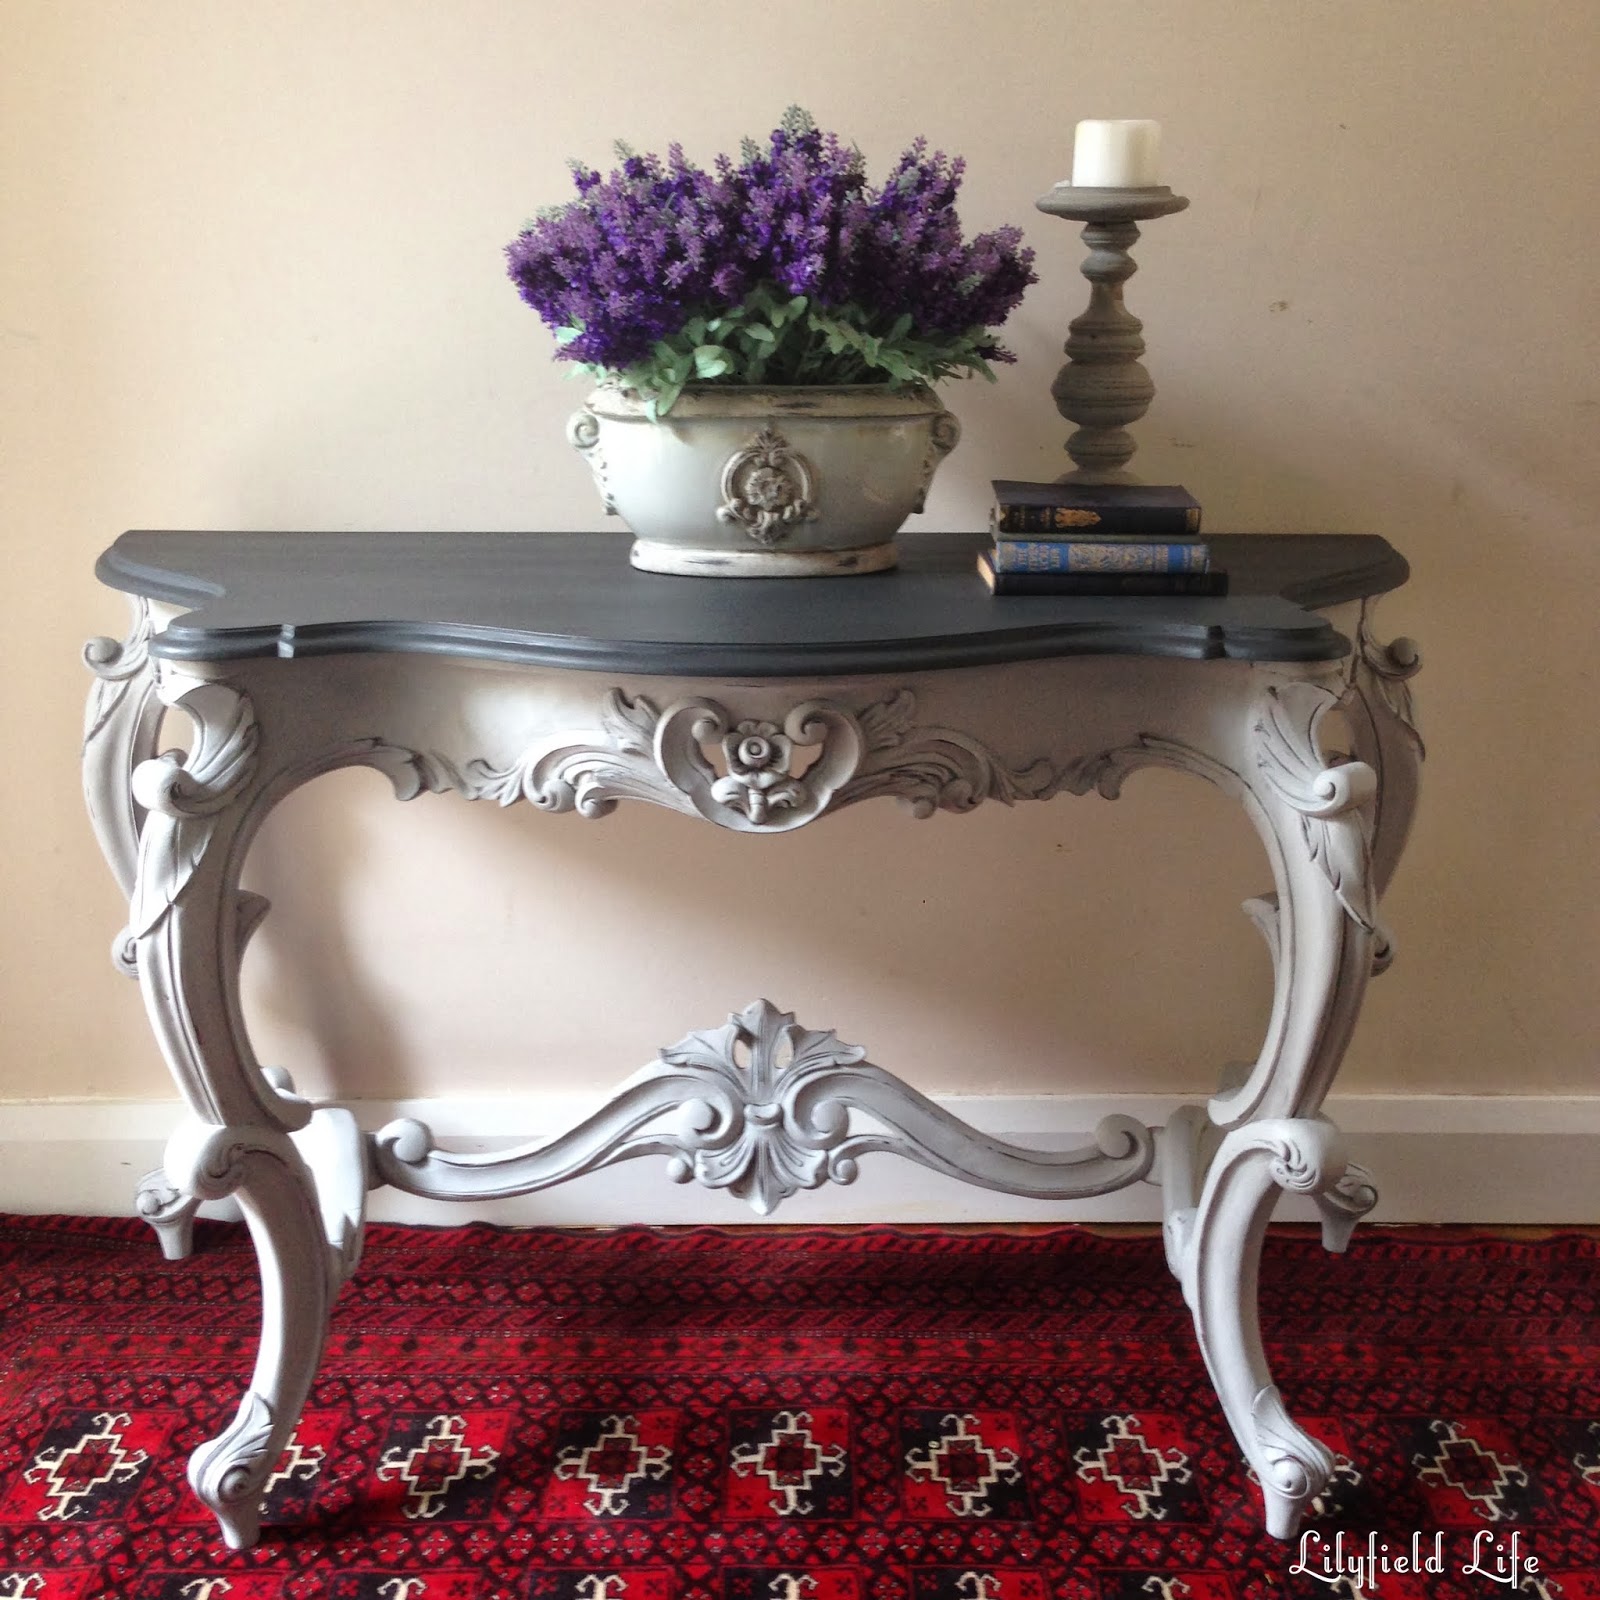
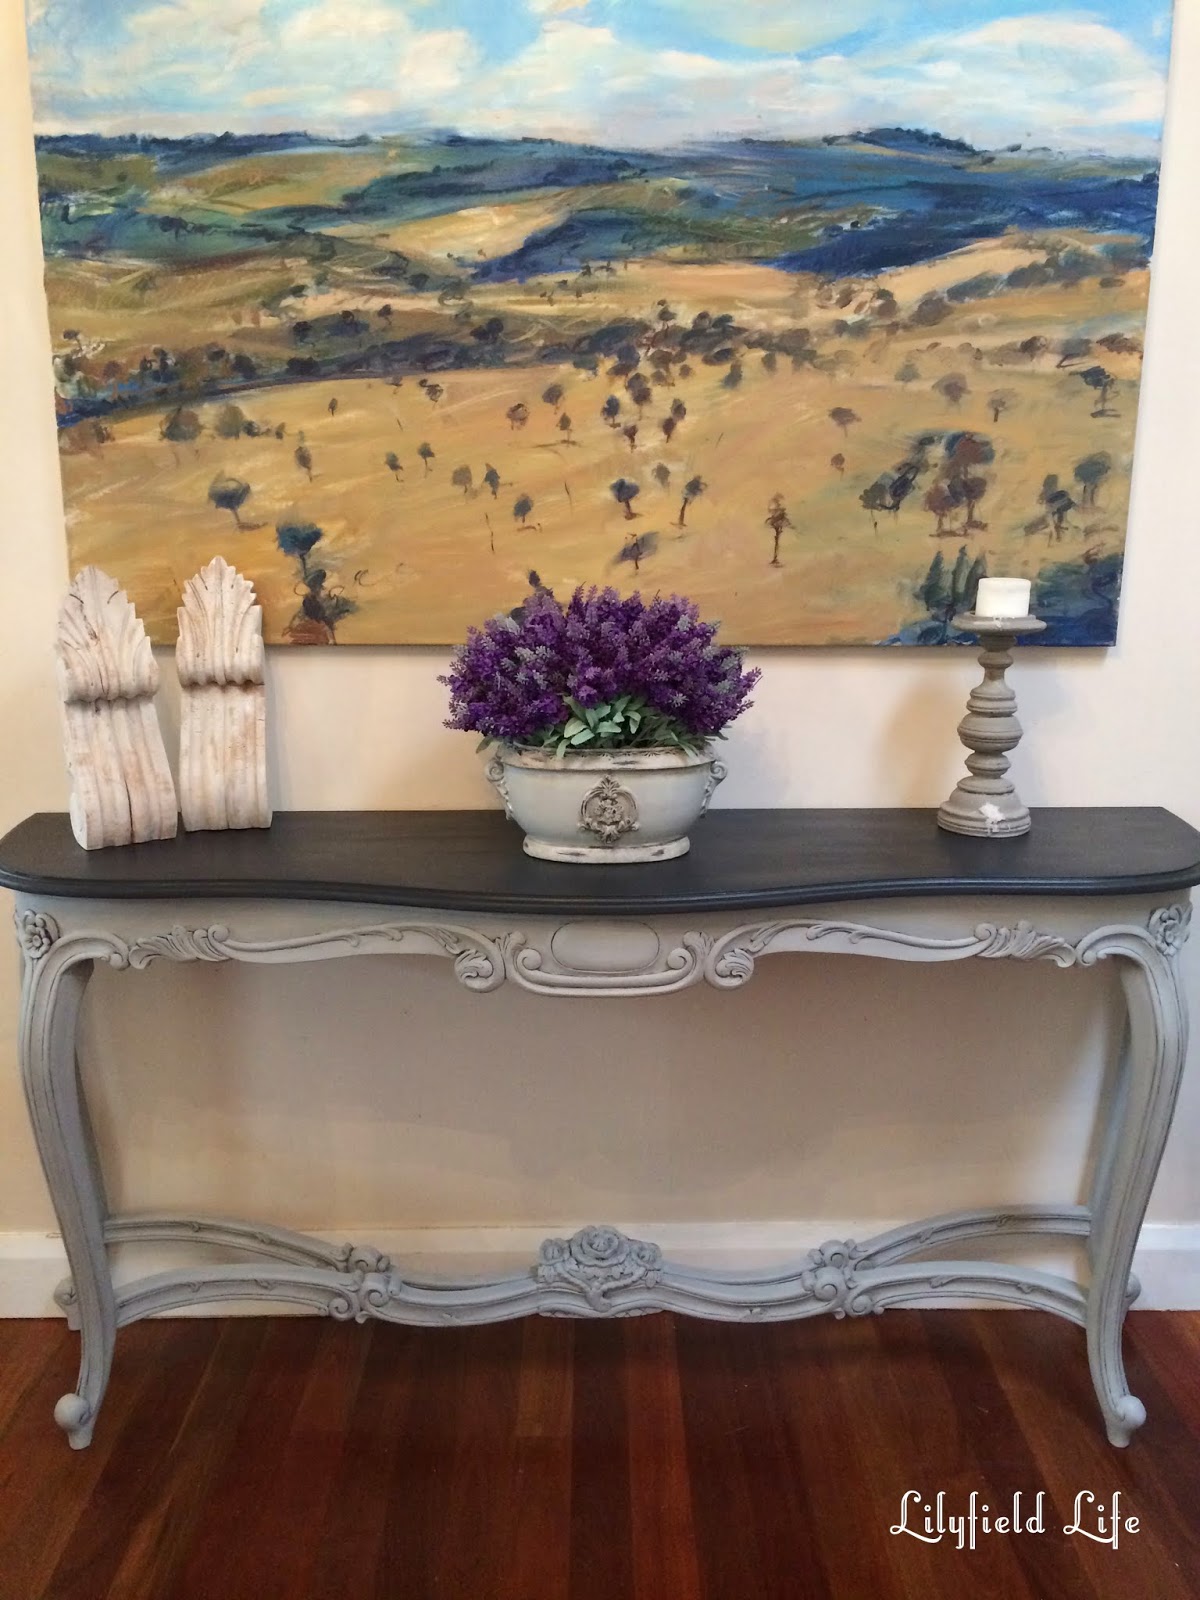
As you know I am always going on about how great paint is to transform your home and your furniture but I really think 

Paint. Is. Magic.

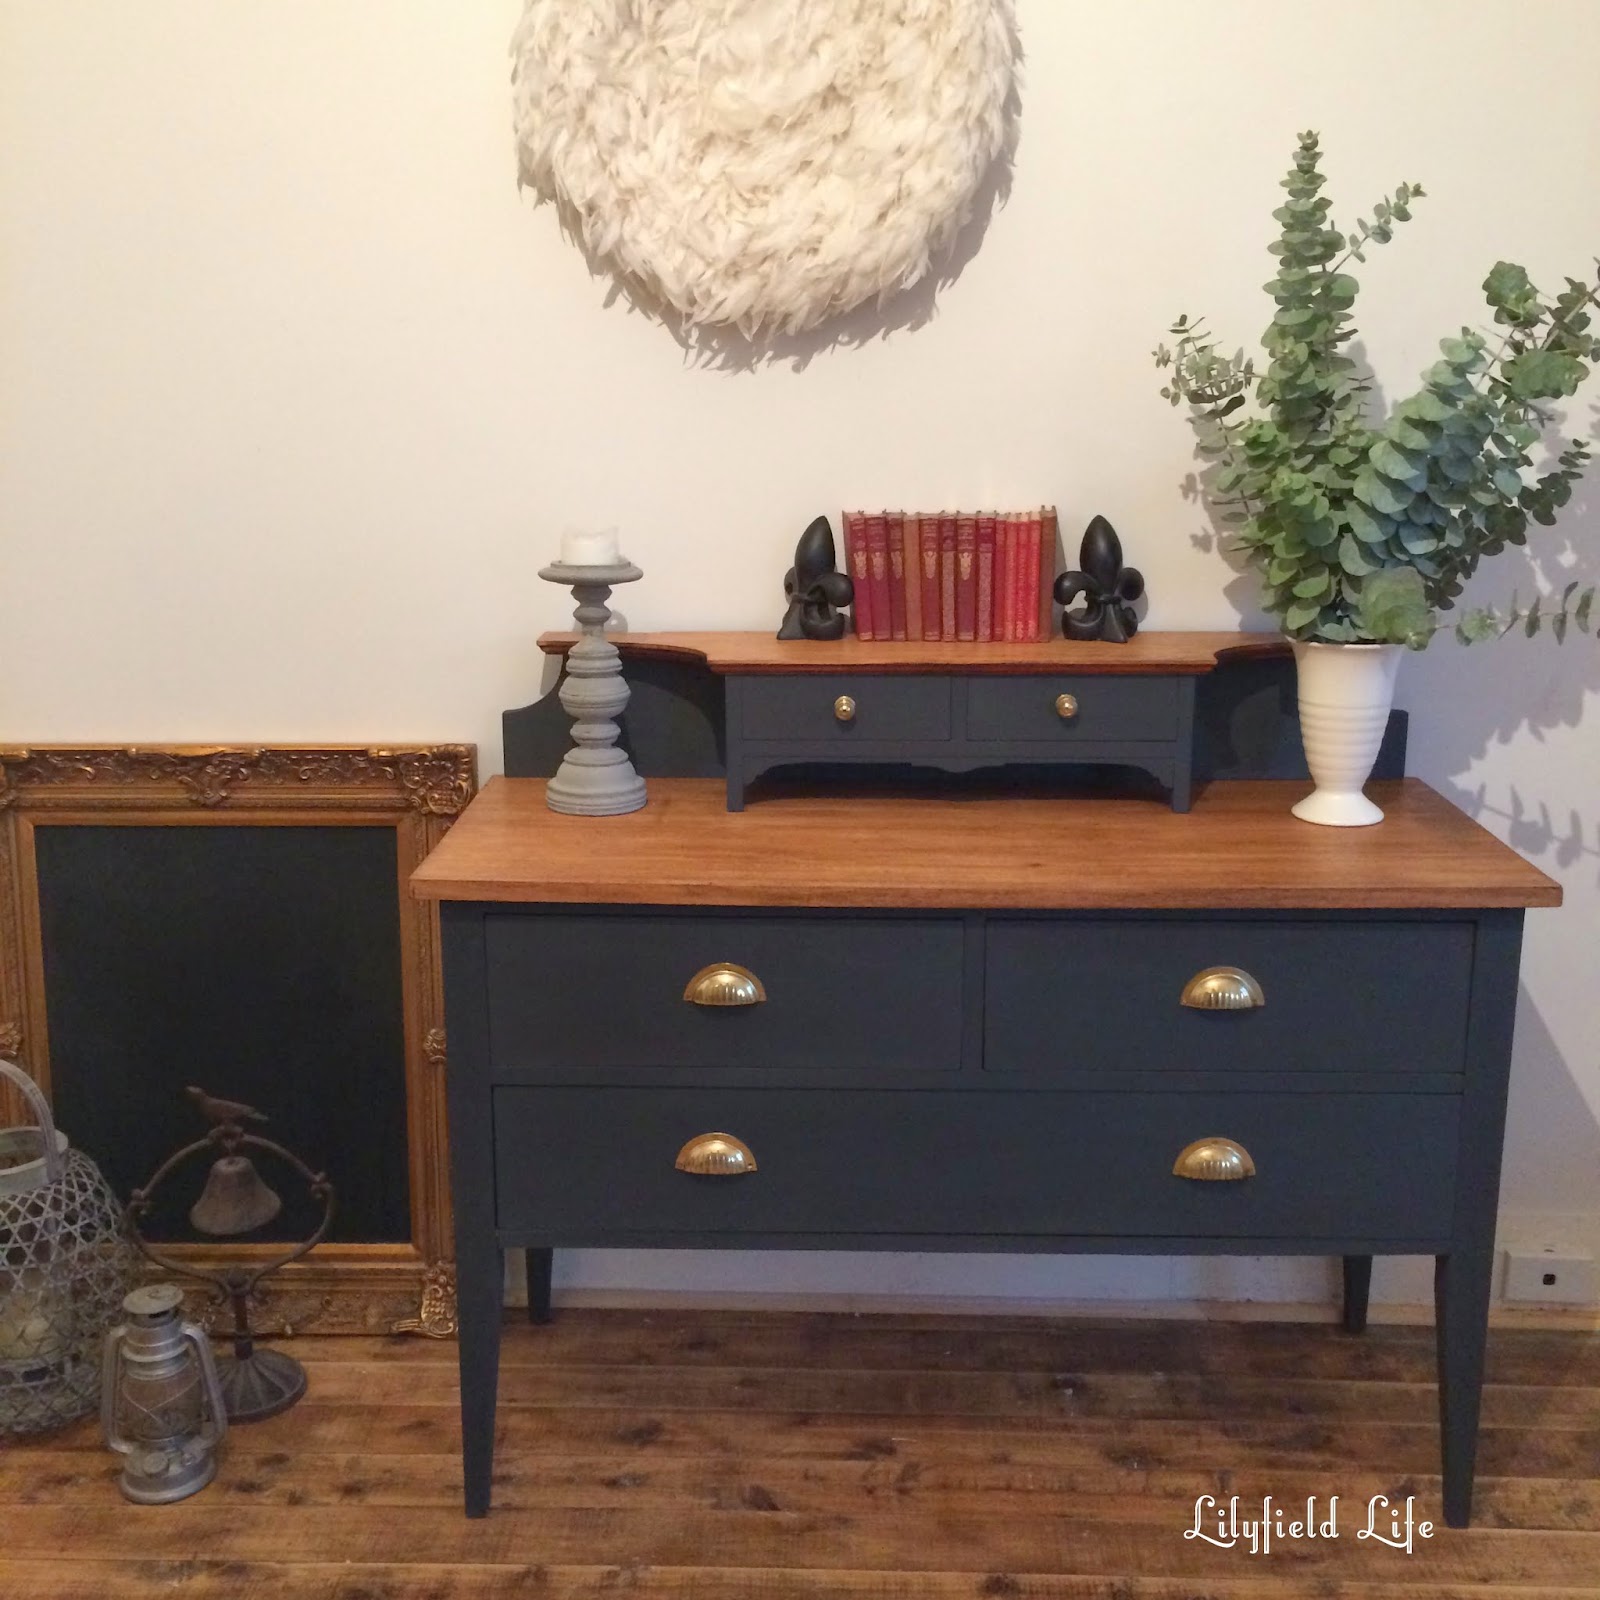
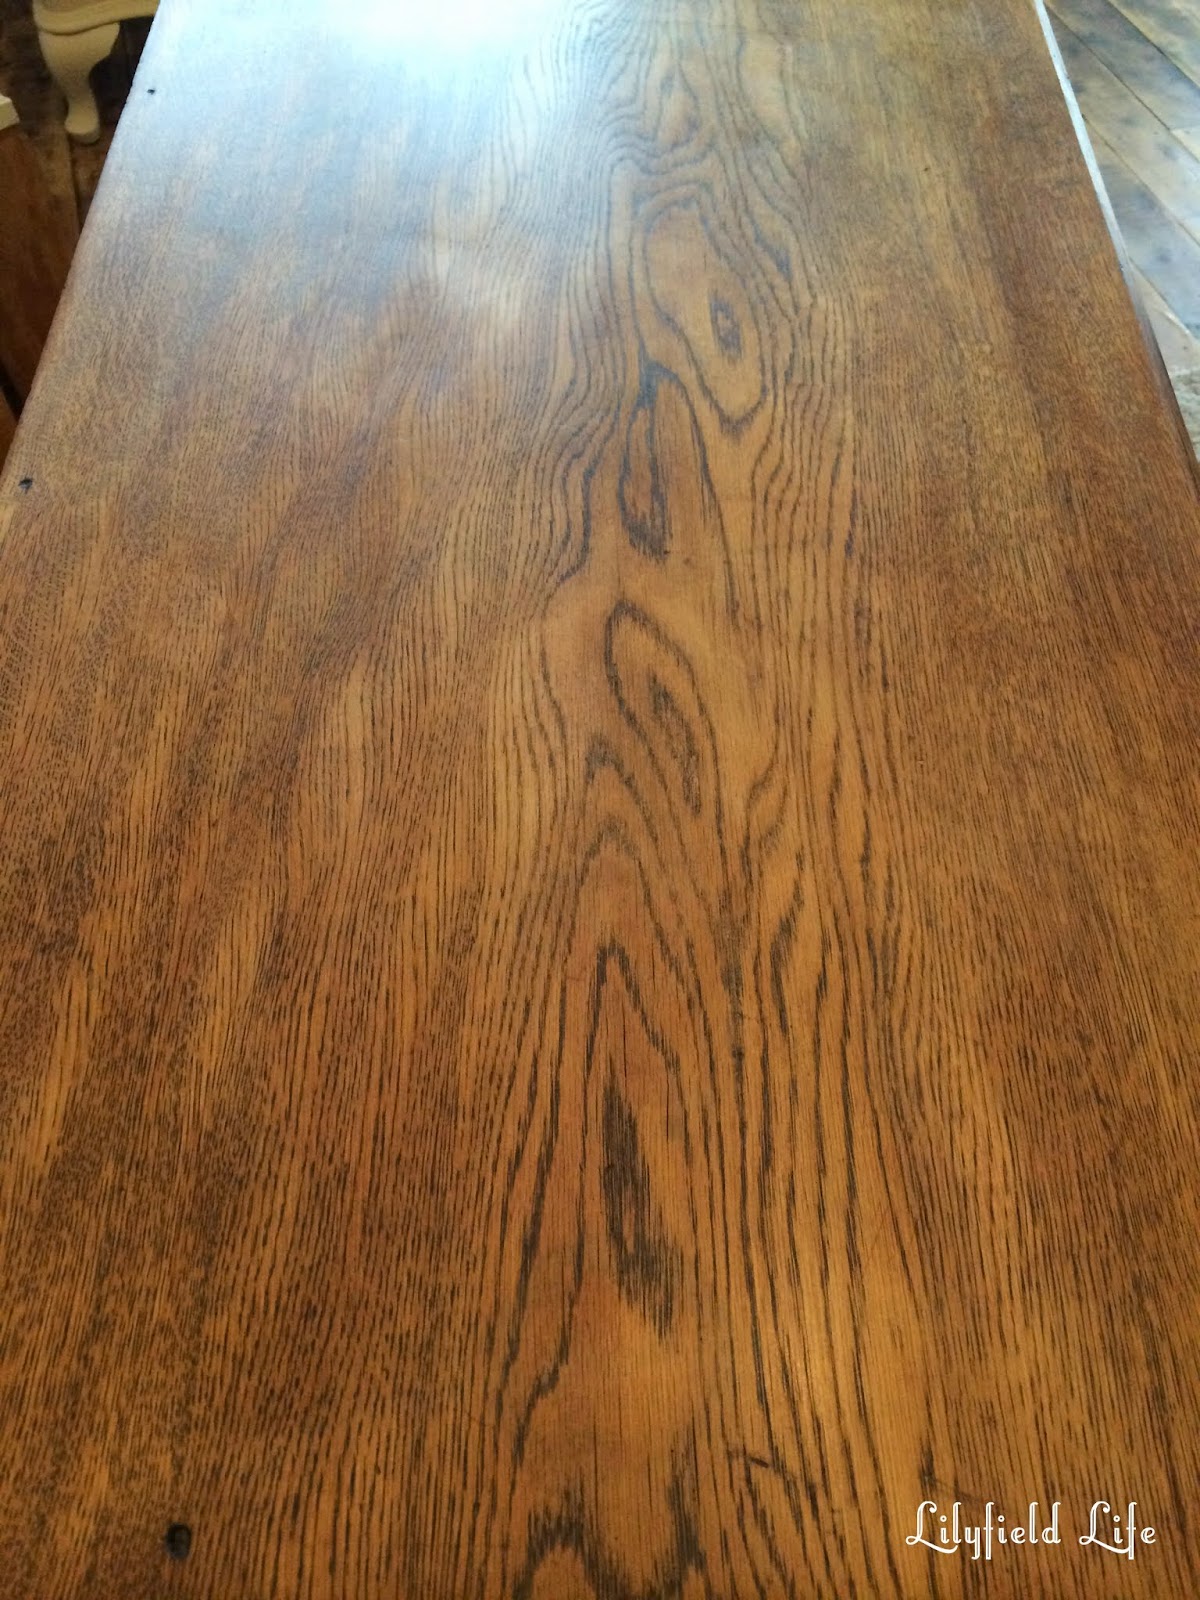
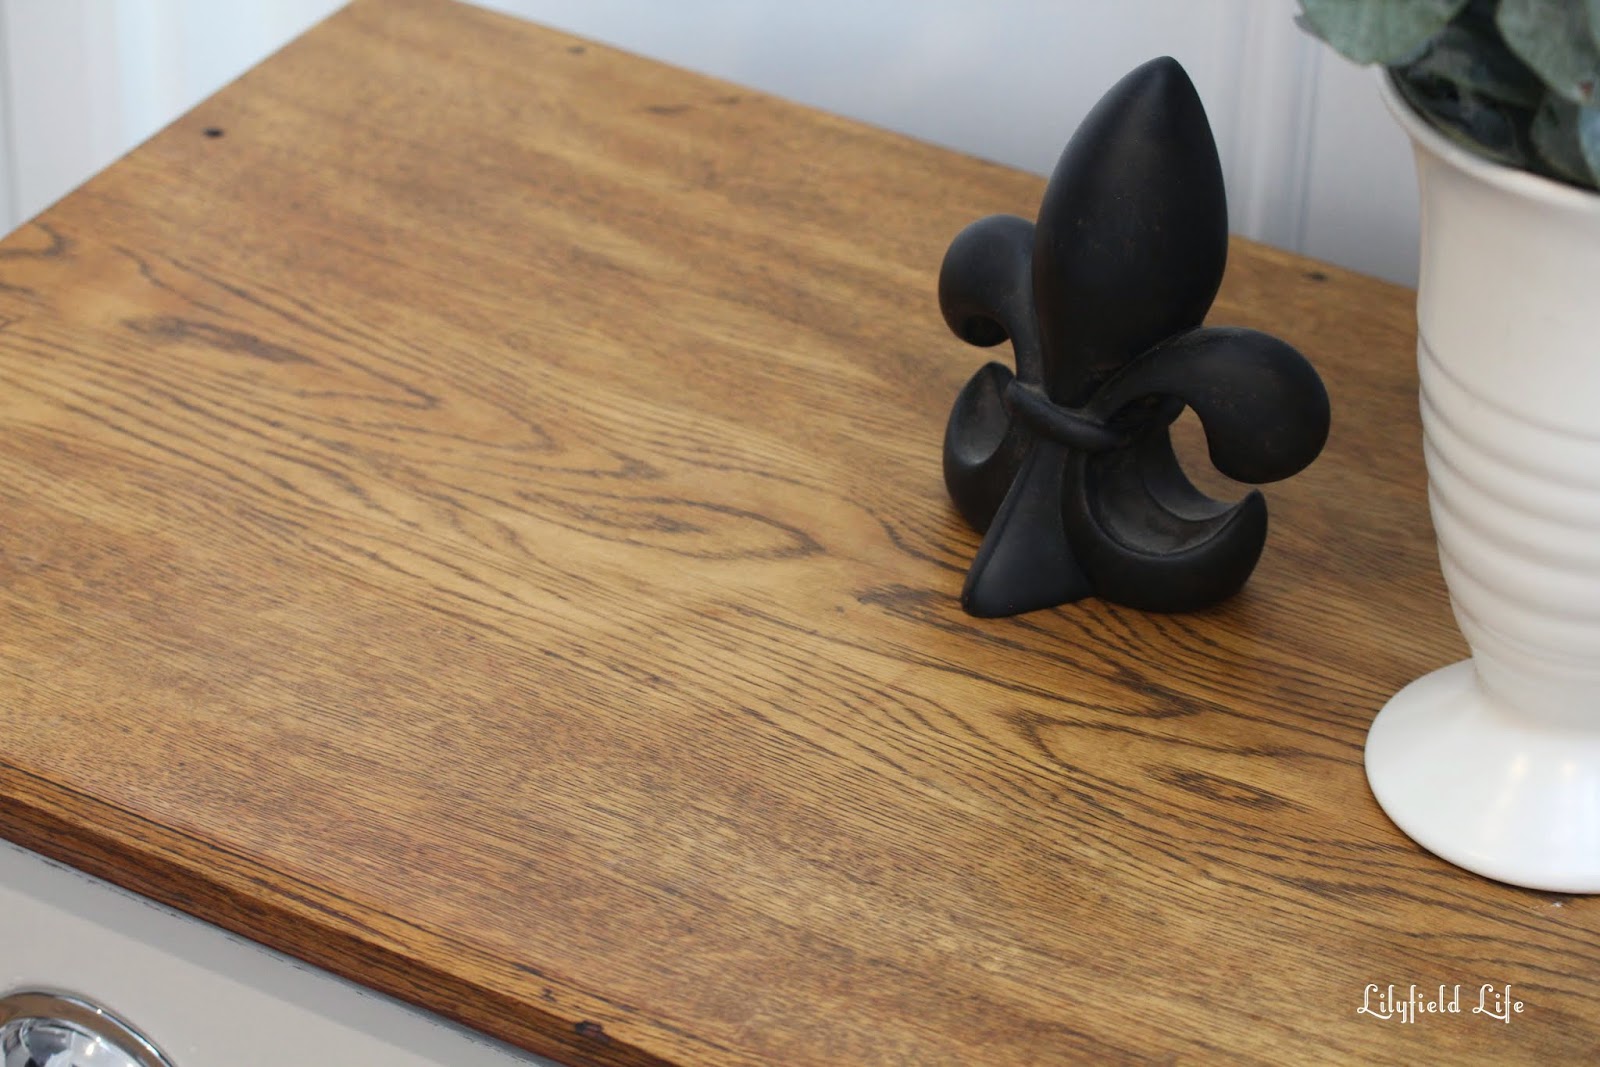
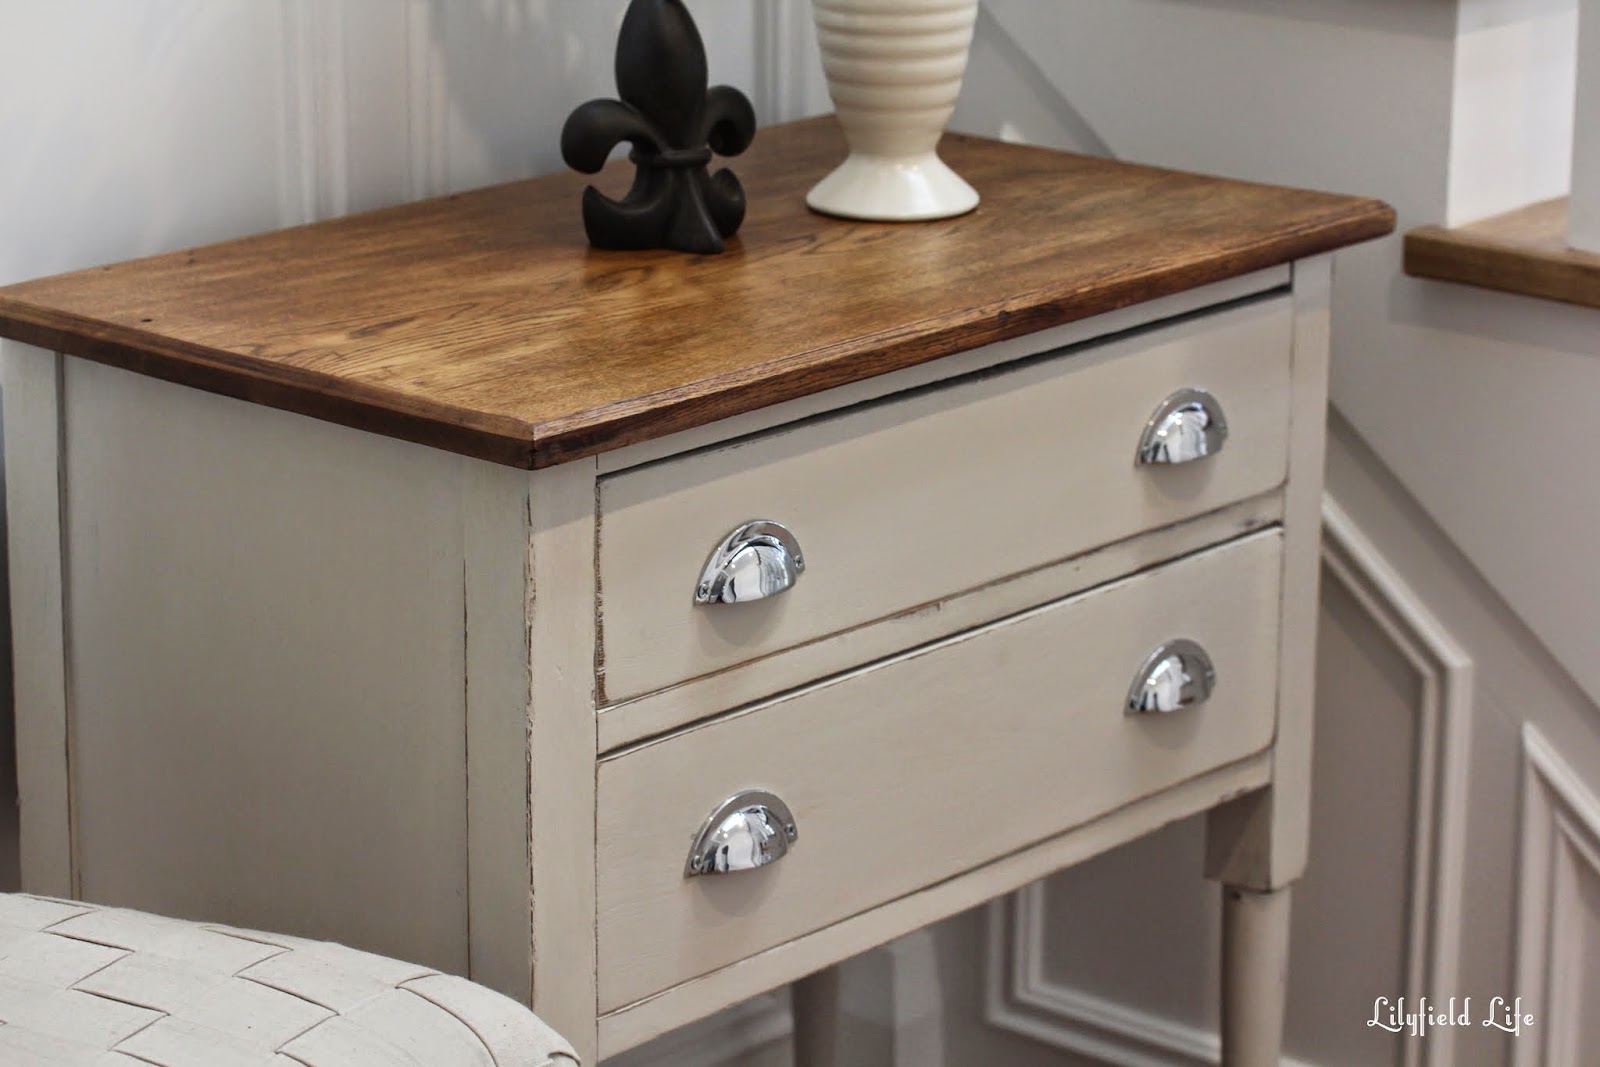
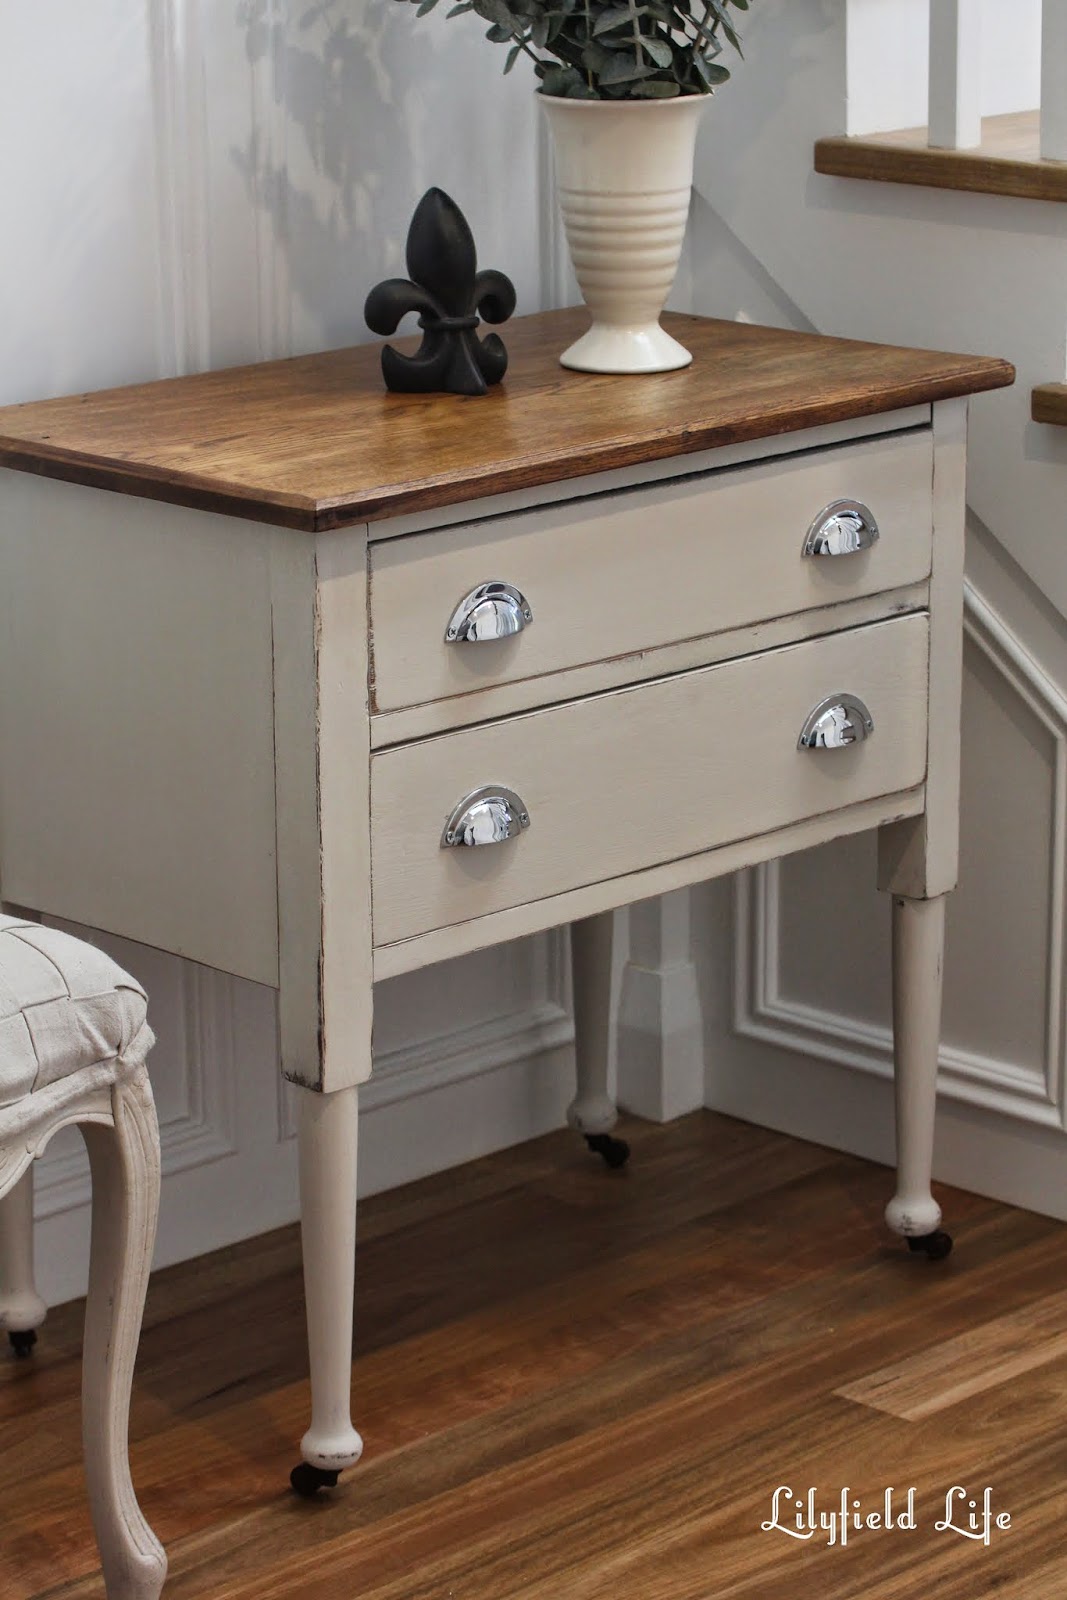
Paint is such a great way to update old tired furniture and you know what? so is sanding. I know everyone hates sanding but I just love to sand. With old oak furniture, especially old dressing table like the one below, I like to leave the tops timber. Sloughing off all the old grime, varnish and marks and then refinishing with a clear coat or wax will really bring the original wood grain back to life.  It just a pleasure to do.


I found the drawers above on Gumtree. I forgot to take a full before photo and I'd already started sanding the timber top when I remembered that I blog and really should document my work a little bit better. Just imagine that the top was the reddish/brown of the drawer fronts. These had a lot of dings and water damage so I did a lot of sanding. I used my orbital sander to make it quicker and easier but you could also sand by hand if you have the patience of a saint. 

Here are my tips for achieving a glass like surface when sanding timber:

My tips for using an Random Orbital Sander

The fast and random motion of a ROS will allow you to sand without leaving scuff marks on your surface, however you can do a few things to assist this. Here are my tips for using this versatile sander:

  1. Wear a dust mask
  2. Clean out the dust box regularly or use a vacuum
  3. Keep the sander moving with the grain of the wood
  4. Be careful near the edges to not sand them too far down and go over the edge
  5. Don't apply too much downward force, let the sander do the work, you are really just guiding it.
  6. Start with a lower grit disc to strip off the old finish. I start with 80 grit as I find that removes a good amount of old varnish quickly without scratching the surface too much. Work through the grits until your desired finish (smoothness) is achieved. Don't skip grit grades. I will change sand paper grit grades around 4-5 times depending on the timber I am sanding.
  7. Wipe down your sanded surface regularly as you work.
  8. One you have a very smooth surface, wipe with a tack cloth, wax then apply a polishing disc to your sander and polish.  You can also do this step by hand.
  9. My last tip is when buying power tools, buy the best one you can afford/justify as you generally get what you pay for and when I buy tools I'd prefer to buy once and have it last a long time.


To paint your piece, start with it upside down. (You will probably want to turn it upside down on a towel or old piece of carpet to protect the top surface. Sand and clean your piece. If it's anything like this piece you'll probably have to deal with some spider webs.

Take the drawers out and if you are changing the handles now is the time to putty up any old holes and drill new ones.


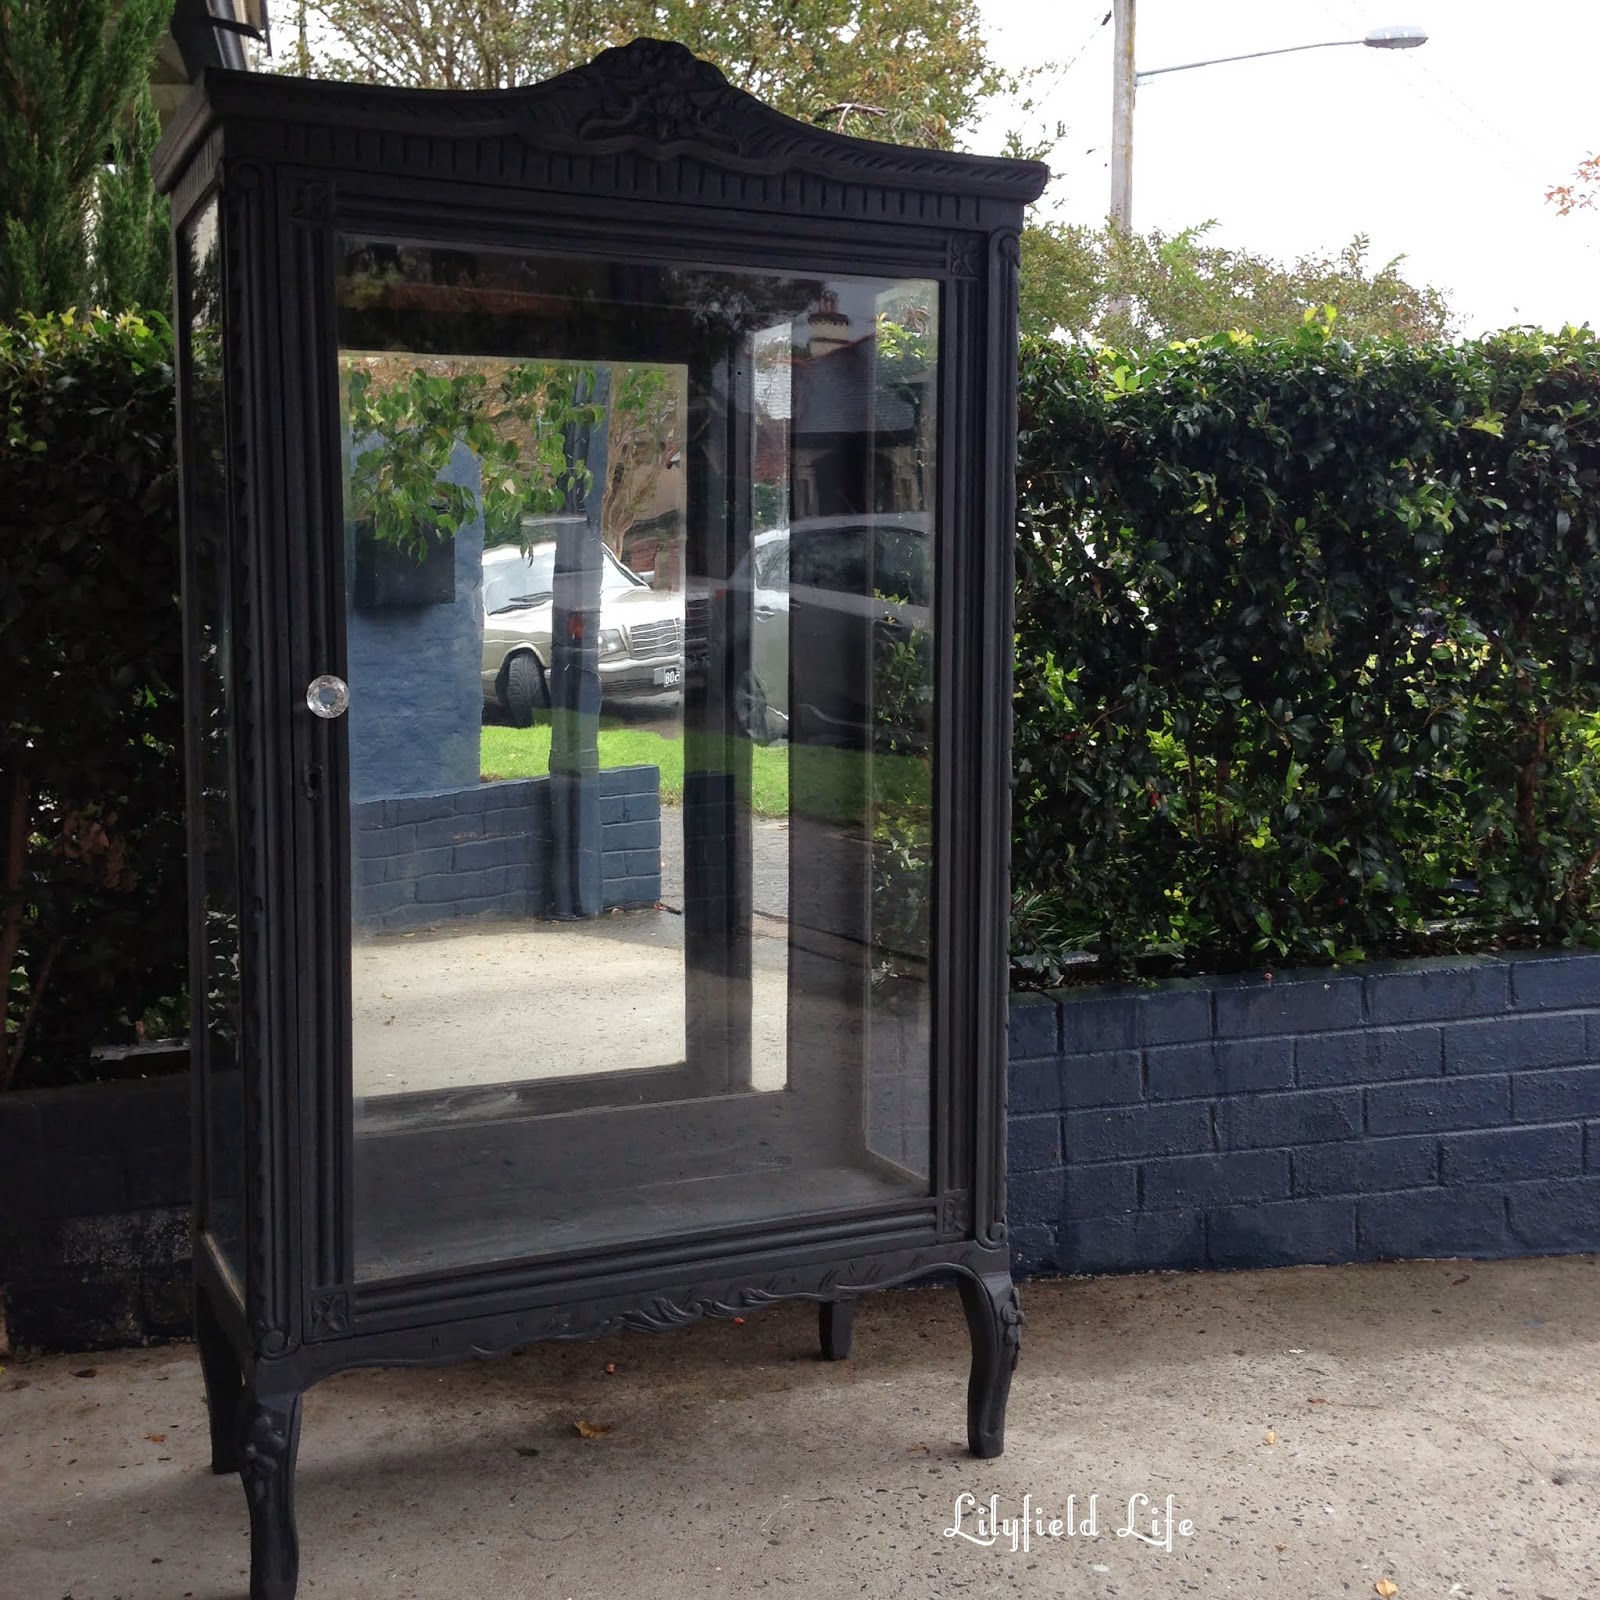
Once your piece is repaired and clean then prime. If you are using chalk paint or any other self priming paint then your first coat of paint will act as a primer. I always start painting on the legs and then the sides of a piece. I leave the front till last when you are "in the groove" of painting as this is what will be most visible.

Once the first coat of paint is dry you can give the piece a light sand to make the finish extra smooth.  A lot of people will skip this step but it's up to you and what you want the finish to be. (Your first coat will probably be patchy as below but that's okay, keep on painting)


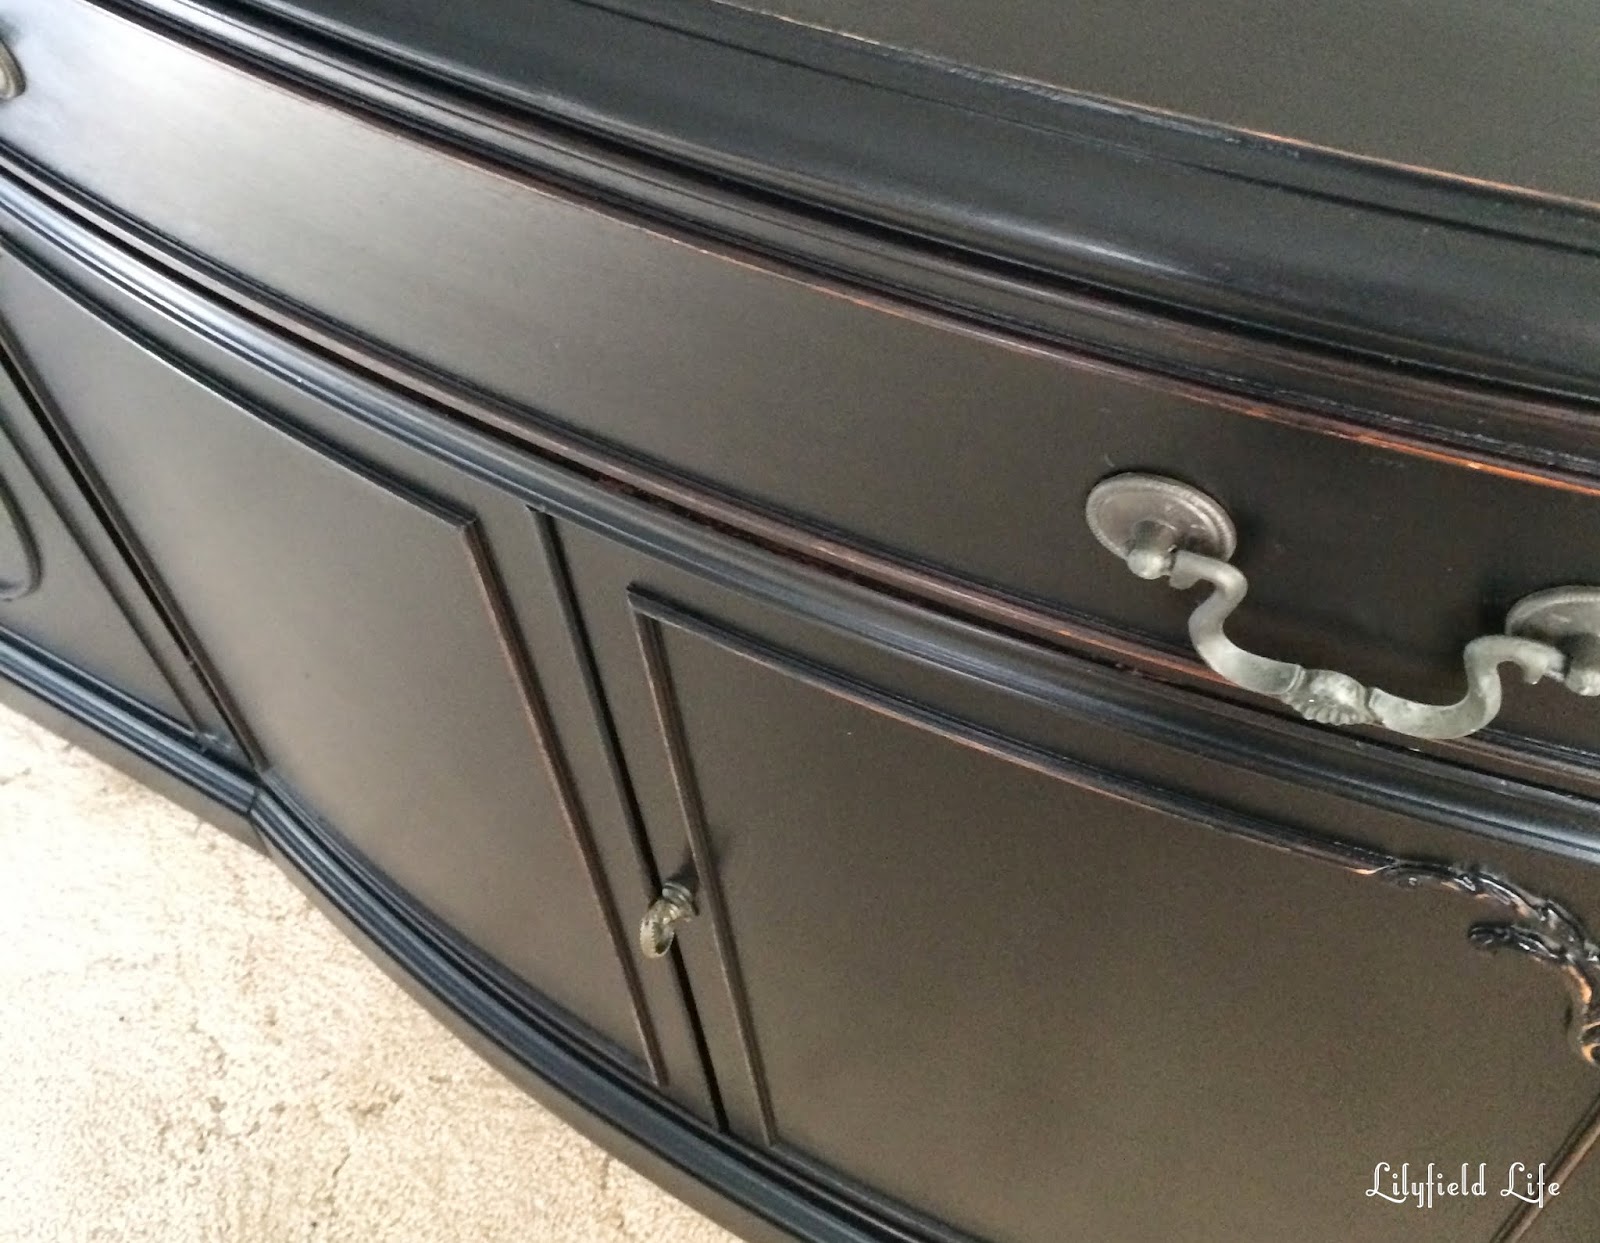
Apply your additional coats of paint. I use long brush strokes and feather the paint so I can achieve a very smooth finish. There are so many different ways of applying paint but this is what works best for me. If you want a more textured look, you may want to use a cross hatch method of painting and also drag your brush back through partially dried paint. This will create a lot of brush marks and stippling that will be great for antiquing with dark wax - it will create little crevices for the dark wax to settle in.  For this piece however I wanted a smooth look.  

Don't be surprised with light colours, red of black that you may need to do more than two coats of paint to achieve a good opaqueness...especially if you are top coating with wax, as wax always makes the paint a little transparent.

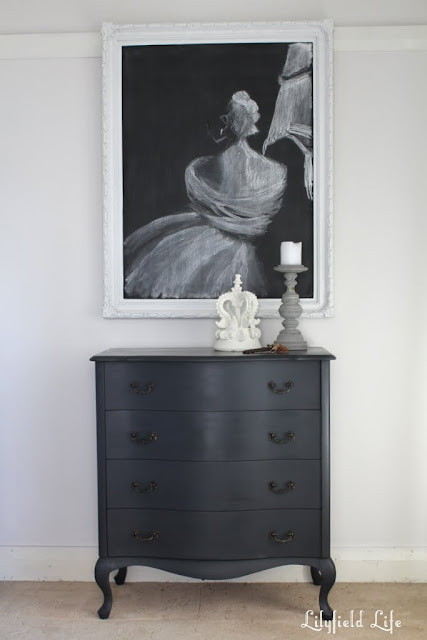
Once you have finished then wax, sand and distress. how much you distress will be a matter of personal taste. Personally I'm not a big fan of over the top distressing. I like just a little natural wear and tear around the edges.


Reapply your hardware (or apply your new hardware like these gorgeous chrome cup handles I chose for this piece) and stand back and admire your work.


If you have any problems when you are painting your old furniture such as bleed though or sagging - I'm talking about paint sagging not 47 year old body parts sagging :) - you may like to read my blog post tutorial - dealing with common paint problems.  I've complied a big list of common problem and my solutions for them. I hope this all helps you in your DIY endeavors for transformation your home and filling it with beautiful old second hand furniture.


Friday, May 22, 2015

Painted Furniture Inspiration - French and ShabbyChic

Despite it being a grey old day in Sydney, I have a lovely, happy day - a little furniture treasure hunting this morning (OMG I picked up some fabulous pieces you are going to love!), coffee with a friend while helping him with some career coaching and then a quick lunch with another friend who was asking my opinion on setting up a website, and I briefly saw a lovely customer while she picked up a piece of furniture I finished early this morning. Love a quick sale. I'll share it tomorrow.

While my kids are having their afternoon snack and before I get ready to head out tonight to see the Hoodoo Gurus with the lovely Phil and our friends, I wanted to share some beautiful painted furniture that has been inspiring me lately. Grab some afternoon tea or an early vino and keep scrolling down for some painted furniture beauty.

Silvia Petroccia Antiques - the images speak for themselves. Beautiful muted colours and French antiques that make me reach for my paint brush and push me to improve my painting techniques.


The console above is one of the most beautiful things I've seen. Dreamy.


absolutely beautiful paint work


and lastly a page on facebook and instagram that always makes me smile is Found and Favour. Clara has a beautiful eye for soft colours, flowers and paint. So gentle. Follow her - it really will bring some happiness to your day.


Her photos even make me miss living in the UK..for a little while :)

happy Friday
Fiona xx


Wednesday, May 20, 2015

Hall Console Synchronicity

Life can be funny sometimes. A friend rang me on Monday to say she was driving back from Caringbah with a piece of furniture she'd bought on eBay and could she drop it in to me to paint. I immediately knew exactly what she had bought as I'd been watching it all week myself and contemplated buying it but in the end I decided I couldn't be bothered driving all that way to pick it up so I passed on it. Now I get to paint it anyway. ...And my friend wants it painted exactly how I would have painted it. Love it. Synchronicity.


The table is very pretty. It's a reproduction and the legs were broken where they screwed in but I can fix them. Patricia wants it painted like these consoles I have previously painted.

french style hall console tables - hand painted by Lilyfield Life

french style hall console tables - hand painted by Lilyfield Life

This is one of the few pieces of furniture that I regret selling. I taught my nephew to paint furniture a while ago and he and I worked on this piece together so it's extra special to me - but at the time I needed a hall table with storage so I let this one go. Although a VERY good looking man bought this, after turning up on a Ducati, how could I say no :) 
I'll always be on the look out for another one similar (furniture ..not the man) I think.

Here's another french style console table I painted in the same colour scheme.

french style hall console tables - hand painted by Lilyfield Life

french style hall console tables - hand painted by Lilyfield Life

I look forward to sharing Patricia's console with you once I have finished it. I think the leg detail is really going to be beautiful. (and yes it doesn't need painting - it's fine as it is, but Patricia wants it painted to match her home decor).

yours in painted frenchy things
Fiona xx

sharing at http://missmustardseed.com/

Saturday, May 16, 2015

Divine Vintage Mirrors - Super Pretty

Oh have I got some beauties for you today! Actually I don't have them anymore as they have already sold and been picked up but the photos are so worth sharing.


I have had this plaster mirror sitting in our house waiting to be painted for about 6 months. It is a beautiful vintage plaster mirror - I personally don't like the two ovals and was going to try to remove that level of plaster and just keep the outer frame.  I don't have a full before photo but below you can see the original brown and gold colour combination.  The mirror sat in the corner of our room throughout most of the renovation while I decided what to do with it but then one day my friend Belinda was visiting and saw it, fell in love with it and said she would buy it, so I decided to just paint it.


I painted this mirror in layers of Porters Paint greys, with the top coat being a beautiful soft pale grey. The mirror is over 1.4m tall and is very heavy and solid. There is some age spots on the mirror but just what you would expect from a mirror of this vintage. It will be available for sale at Bella Emporio Rozelle eventually (after the lovely Belinda has had her fill of its beauty). If you really want it, you might be able to twist her arm :)


Last week I came across another big mirror that I just had to buy. It's a vintage mirror hand carved from Blackwood and it was in perfect condition. There's a lovely inscription written on the back from the maker including his old telephone number. I should have taken a photo of it to share.  I painted this in a pale grey and then dark wax antiqued it and distressed it ever so slightly. I was very tempted to keep this one for myself as it is so unusual.


 I love old interesting mirrors and thinking of their history. I am relishing working in my new studio and have been getting heaps done - although my house to do list isn't progressing very much but that's okay. There is plenty of time :)

Fiona xx


sharing at http://missmustardseed.com/


Friday, May 15, 2015

A Painted Pine Crystal Cabinet

You may have seen this piece in progress but I love a good before and after series so thought I'd show you the finished product.

hand painted furniture by Lilyfield Life

Rebecca asked me to paint her crystal cupboard and initially asked for it in ivory but when I went to pick it up and saw her house I felt that the ivory might just make the cabinet disappear against her Antique White USA walls. I suggested a taupe and she loved the idea. I then showed her my kitchen which I hand painted in Colorbond Dune and she loved it even more; so Colorbond Dune it was.

hand painted furniture by Lilyfield Life

Rebecca didn't like that the pine had turned orange as it aged so she'd tried to stain the timber but the process she used didn't work. You can see her effort on the bottom drawer so she gave up and called me to paint it. 

Normally to paint a crystal cupboard my preference would be to remove all the glass but this wasn't possible on this piece so I had to paint around it and when I got some paint on the glass I removed the paint once it was dry. If you can removed the glass it makes it much quicker, easier and neater.  I also removed the doors and all hardware. 

hand painted furniture by Lilyfield Life

I then sanded, cleaned, primed and painted a few coats in a DIY mix of Colorbond Dune. Once it was all finished I top coated with wax for a lovely smooth finish. I replaced the original metal ring hardware with these crystal handles. Gosh it sounds quick and easy when I write it like that!

hand painted furniture by Lilyfield Life

Rebecca loved it and it looks fabulous against her walls and her taupe curtains. Great colour choice.Although i think you can never go wrong with taupe..or grey..or white.

Fiona xx